For the beginners, making sense of WordPress usage can be quite tricky. People usually find themselves stuck with the questions about uploading themes and plugin from the WordPress dashboard.
The WordPress “Dashboard” is the first thing you see when you log into the administration area of your blog.
In this tutorial, we will try to teach you the best way of uploading a theme or plugin from Dashboard. Note that this post will assume that you have the desired theme or plugin downloaded, you just need to upload it to the dashboard.

How to Upload a Theme from the Dashboard
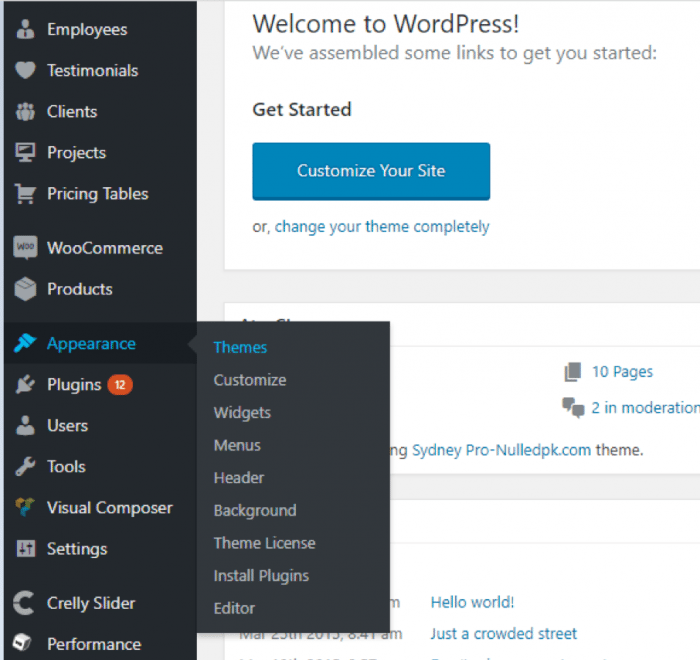
- Log in to the WordPress Admin Area.
- Select the Appearance panel.
- From the Appearance panel select Themes.
- Now click Add New.
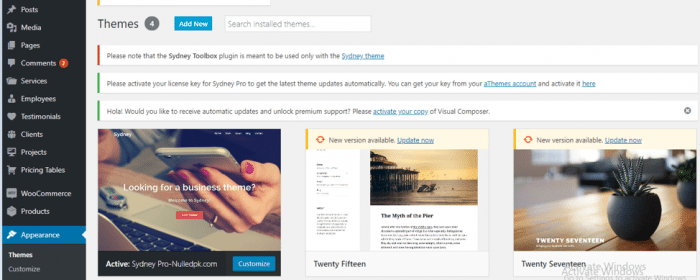
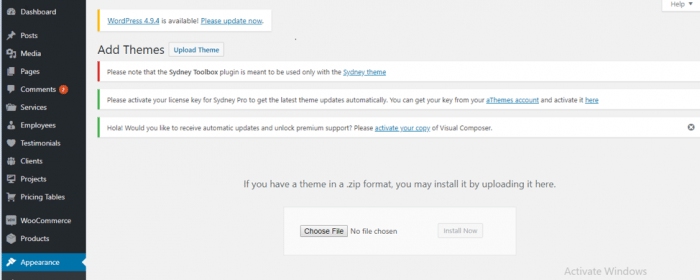
You now have two options. You either:
- Use the Upload link in the top links row to upload a zipped copy of a theme that you have previously downloaded to your system. Once uploaded, click Activate.
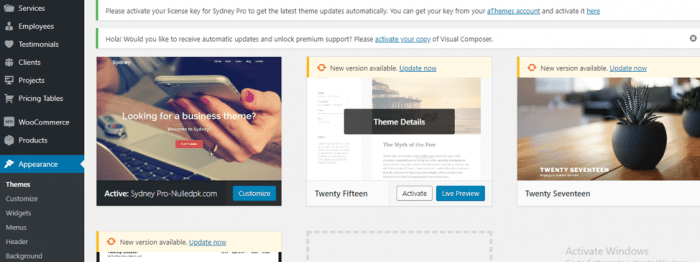
Or
- Choose a theme available on WordPress. Once you select the theme from WordPress, click Preview to check and then Activate.
How to Upload a Plugin from the Dashboard
- Log in to the WordPress admin area.
- Select Plugins from the panel.
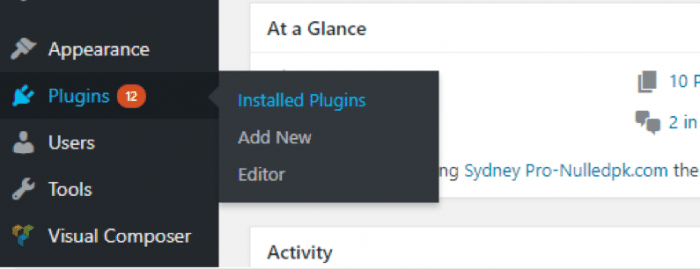
- Now click Add New.
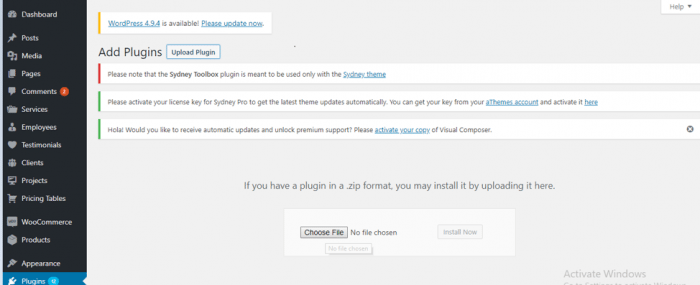
Further steps are similar to uploading a theme. You can either:
- Choose a plugin available from WordPress Repository. Once you select the plugin from WordPress, click Install.

- Once installed, click Activate.
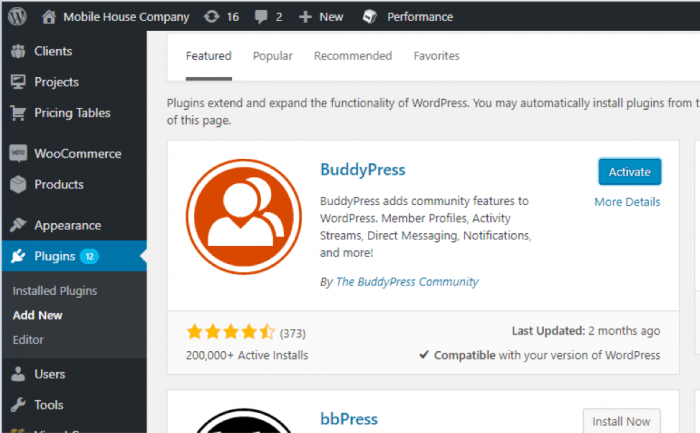
- Select Upload Plugin and browse your drive to find the .zip file you have already downloaded in your system. Then, click Activate.

Also Read: How To Upload WordPress Plugins via FTP
Final Thoughts
The above information makes uploading a theme and plugin from dashboard very easy. Go ahead and upload!






Thank you for showing how to upload a plugin or theme from the WordPress admin dashboard. This will surely help users who are new to WordPress.