WordPress is an excellent platform for placing lots of images on your blog. In WordPress presenting lots of images in a single post is not ideal. They can take up lots of space and the reader will be forced to do a lot of vertical scrolling to view the entire post.
A better approach is to add a link to your post to a dedicated gallery page. A stand-alone gallery also allows you to categorize and group your images more efficiently.
One of the best third-party plugins for WordPress is NextGEN Gallery. It offers an easy-to-use gallery with lots of features. We’ll install NextGEN Gallery and take a look at some of the basic features.
If you are interested in the gallery feature in WordPress, take a look at gallery shortcode. You can further explore best WordPress Gallery plugins and WP Modula Review.
1. Download NextGEN Gallery
2. Unzip the file and rename the extracted folder nextgen gallery.
3. Now place the nextgen-gallery folder into the plugins directory via FTP
e.g. /www/wparena/wp-content/plugins
4. Log in to the administration area in WordPress, click on the Plugins tab, and activate NextGEN Gallery.

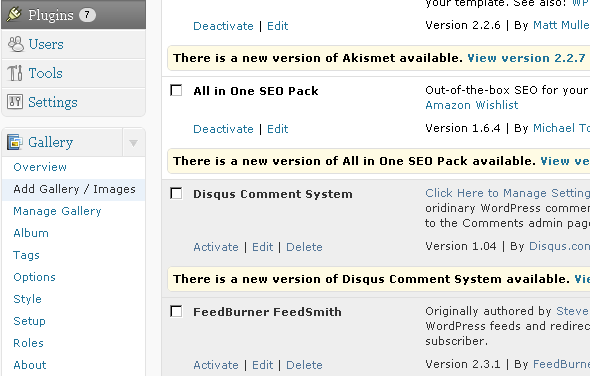
5. Now you’ve activated the plugin, you will see a Gallery tab in the admin area. Click on it and then select the Add Gallery sub-tab.
6. Type Your Gallery Name whatever you want (I am creating “wpa-gallery”) in the New Gallery box and click Add gallery. You should see the following message:
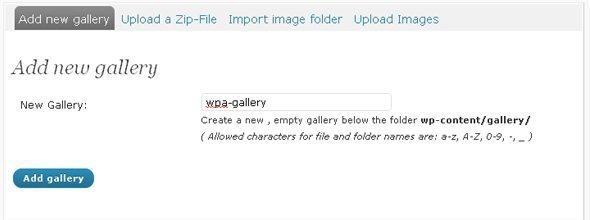
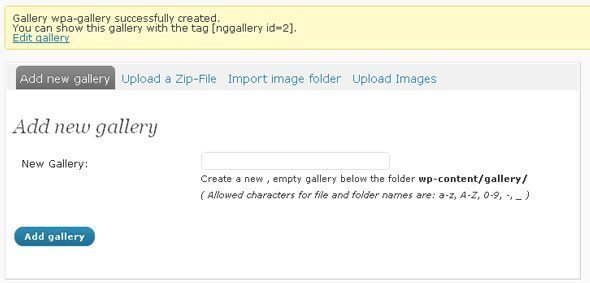
7. Now we can import some images to your gallery.
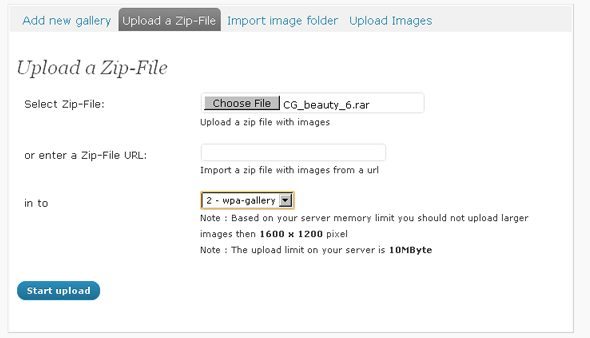
a) There are several options available here. The first is to upload an entire ZIP file of images.
b) The second is to use your FTP client to upload a folder of images to the gallery.
c) The third is to upload images one by one.
We will use the first option, which should be the quickest.
8. After selecting your image folder, a zip file. Select your gallery from the drop-down menu. Click on Start Upload.
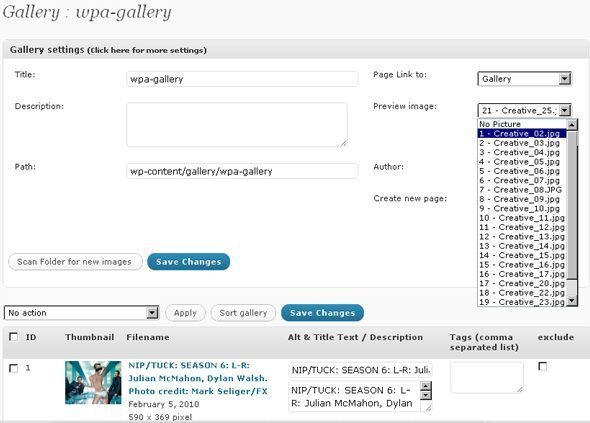
9. Now click the Manage Gallery tab. You should see your gallery (WPA-gallery) in the Gallery Overview list. Click Gallery Name, It will take you to “Galley setting”.

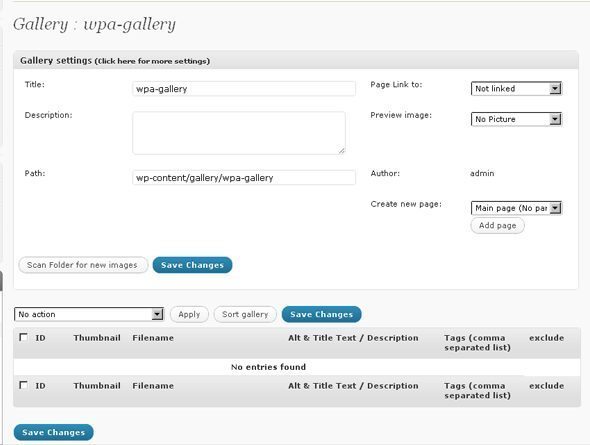
10. Click on the left of the Gallery settings heading tab to expand the settings area:
11. Click the Add Page button. Now type a suitable description in the Description box and in the Preview image drop-down box, select any one of the images. Click Save Changes.
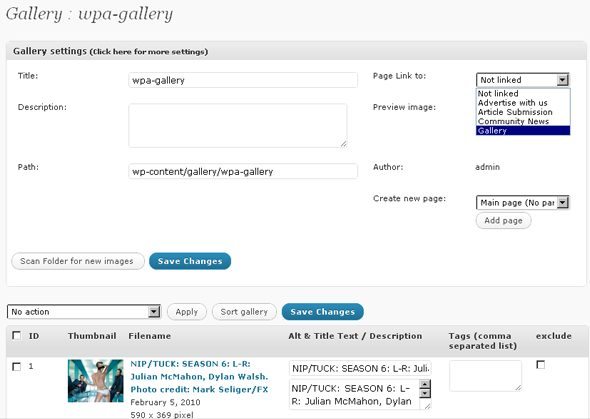
In the bottom half of the Manage Gallery page, you can change the settings for each image. Keep in mind that Alt tags are also good for search engine optimization.
12. In the Alt & Title Text column, enter a meaningful title for each image and then click Save Changes.

13. Create more than one gallery and put them in single Album, Creating an Album is not a difficult job. All you have to know the difference between Gallery and Album.
“A Gallery is simply a collection of images. You can use just one gallery and place all of your images in it, but if you want to keep your images in some kind of order, it makes sense to set up several galleries, each containing related images. Groups of Galleries like this make up an Album.”
Ref. WordPress for Business Bloggers
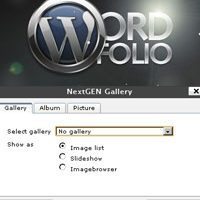
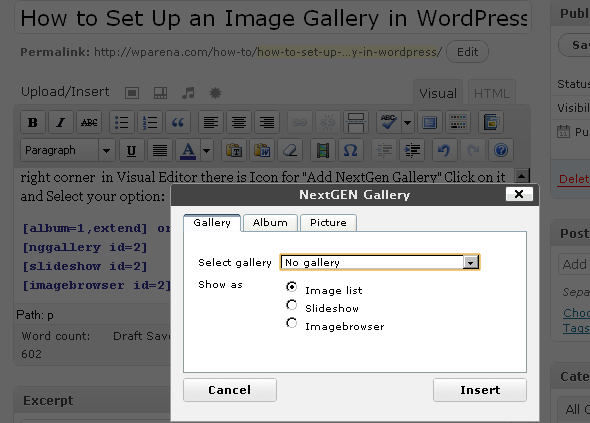
14. Create a page or Post and Enter Image Gallery as the page title and Upper right corner in Visual Editor there is Icon for “Add NextGen Gallery” Click on it and Select your option:
I think you’ll agree that NextGEN Gallery is a pretty powerful plugin that allows you to easily create a gallery page. We’ve really only scratched the surface in terms of its functionality. Now you have the basics, it’s up to you to experiment and see what it can do. There are lots of more options, you can modify the whole look of your gallery according to your own WordPress Theme.

