There are times when you want to switch between hosting companies. When I started using WordPress and was trying different hosting companies, it was a nightmare to transfer sites from one server to another. There, was no proper guides and tools available. However, with the passage of time, different Devs started writing about migrations and the majority of WordPress Hosting companies started providing migration services free of charge to their customers. Some of them are WPEngine, GoDaddy, and DreamHost.
To further Ease the process of WordPress Migration, I have divided this tutorial into two sections.
- Manual Migration (Time Consuming)
- Automatic Migration (Less Time and Effort)
I would recommend you to opt the second method. However, It completely depends on your circumstances. However, If you want to move a lot of sites or want’s to move sites regularly then you must opt the Second Automatic Method. Let’s first try the manual migration.
Manual Migration
The manual transfer of WordPress site from one server to another, start by reversing the installation process.

Step 1: Backup Your WordPress Files
Download the WordPress files from your server. Make sure you have a complete copy of your wp-config.php and .htaccess files and your wp-content directory.
Step 2: Export The WordPress Database
Export your database. If you have installed any plugins that create new tables, be sure to include them in your backup. They will share the prefix (e.g. ‘wp_’) you specified during the installation.
You can install Austin Matzko’s WP-DB-Backup plugin (WP-DB-Backup) or use your host’s control panel (e.g. PHPMyAdmin) to export your WordPress database.
Step 3: Maintenance Mode on Old Site
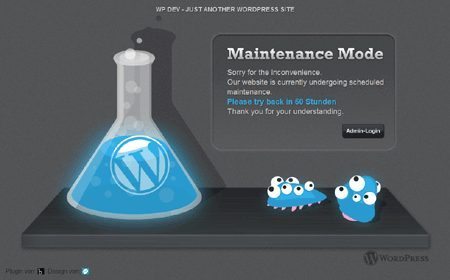
Put your old site into maintenance mode so your visitors can’t continue to submit comments and trackbacks to your old database. Maintenance Mode plugin (Option 1, Option 2) works well.

Step 4: Edit The WP-Config.php File
Edit your wp-config.php file. Change the database connection settings to correspond with the values on your new server. You should also define your site and blog URLs in the configuration file, This will override the settings in your database so you can log in on your new server. (Otherwise, WordPress would constantly redirect you to your old site!) See Editing wp-config.php for details on these and other advanced configuration settings.
Overriding database values for your site URLs in wp-config.php
define('WP_SITEURL', 'https://wparena.com.com);
define('WP_HOME', 'https://wparena.com');
Step 5: Upload Files to New Server
Upload your files, including the modified wp-config.php, to your new web server.
Step 6: Import The Database
Import the database backup you made in Step 2 to your database on your new server using your new web host’s control panel tools.
Step 7: Login to New WordPress Site
Log in to your WordPress site at its new location (e.g. wparena.com/wp-admin).
Step 8: Updating Urls
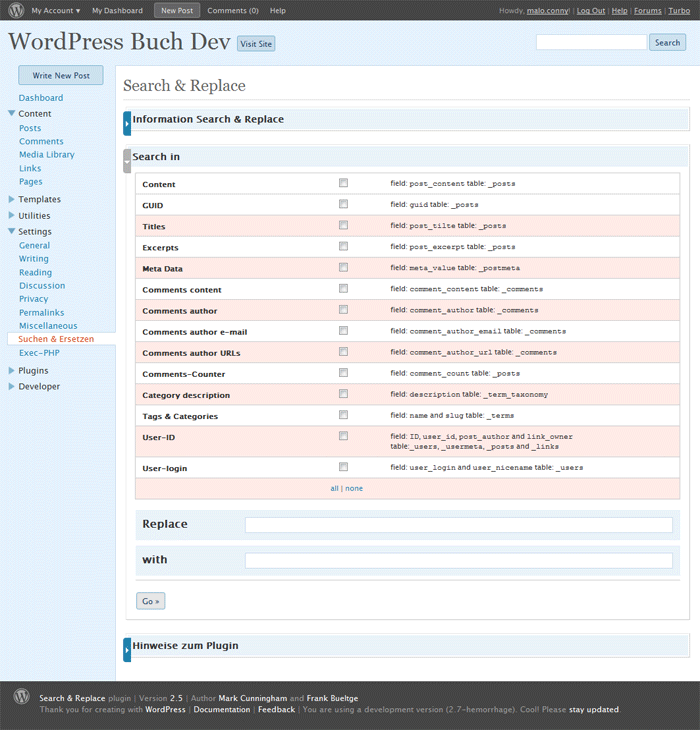
If you changed your site’s URL, your posts and pages probably contain many hardcoded paths to your uploaded media files. Use the Search and Replace plugin (Search and Replace) to change these to your new URL, as shown bellow.

You’re ready! Your Site has been completely Migrated to the new server manually. Let’s have a look our Automatic Transfer of WordPress Site From One server to Another.
Automatic Migration
The automatic migration is painless and doesn’t involve a lot of steps mentioned above. With the help of plugins, we can achieve this out of the box without any difference with the manual transfer. Almost, every other developer started migrating their sites using Automatic Migration Tools. For the sake of this tutorial, we will use a premium plugin Duplicator Pro for moving our site from one server to another. We are using this plugin due to its simplicity. It’s super easy to migrate and backup your WordPress site using duplicator pro. Let’s have a look how we move a WordPress site from one host to another in a couple of minutes.
Step 1: Installing Duplicator Pro Plugin
Visit SnapCreek Website and Purchase Duplicator Pro Plugin. Download it to your computer and then navigate to the backend of your site and click Plugins >> Add New. Upload the plugin and activate it.
Step 2: Create a Site Package
After activating the duplicator plugin, you will get a new menu option in the backend: “Duplicator”. Select this and you’ll enter the main setup screen with a warning message that you haven’t created any packages yet:


i have move my WordPress site from one host to other according to your article and it works . thanks
Welcome Diwaker Srivastava.
Thanks for the article. I did the manual method, and it really wasn’t that hard. Probably took me 10 minutes. Although it was easier for me since the URL wasn’t changing, just the machine it was hosted on.
If you are using SSL (and you should) also remember to import the certs onto your new server.