

Uploading and editing images in WordPress has never been easier. With the latest enhancements to the Media Library, you can now tweak and modify your images directly within the platform. However, before you get started, it's important to note that the image should be in an acceptable format such as GIF, JPEG, JPG, or PNG. These formats ensure compatibility and optimal performance.
In this comprehensive guide, we'll walk you through the steps of editing images in WordPress, highlight useful features, and provide alternative methods for image editing. Additionally, we'll share essential WordPress media plugins that can help you organize, protect, and optimize your Media Library for better performance and management.
Table of Contents
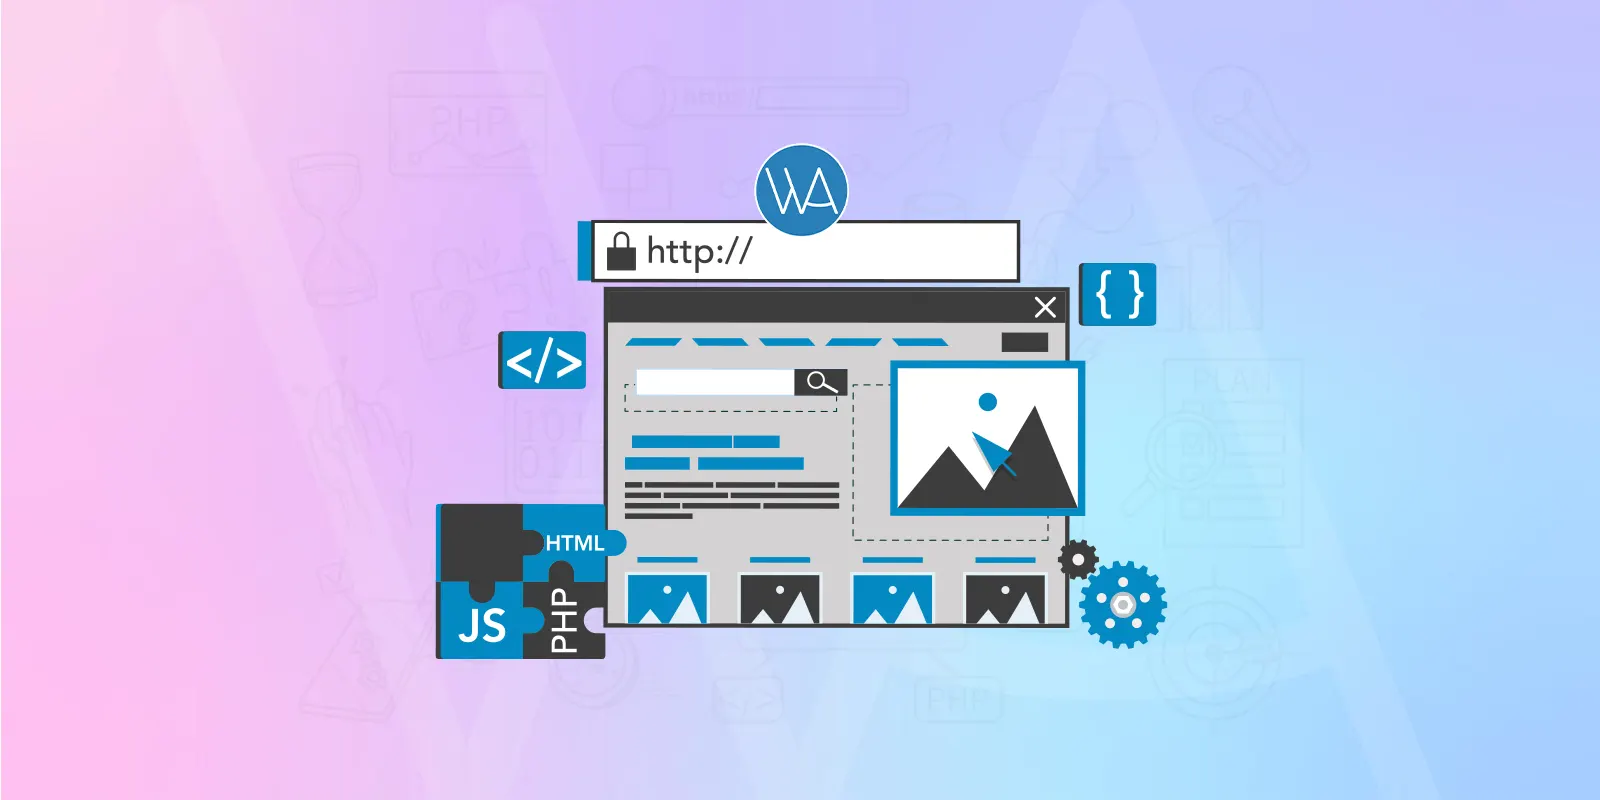
Uploading and Viewing Images in the Media Library
When it comes to uploading images in WordPress, the process is quick and straightforward. Simply navigate to the Media Library and select the "Add New" button. From there, you can upload the desired image file. Once uploaded, you can easily access and view the image by selecting the "Show" option beneath the thumbnail.
Along with text, visual content plays a key role in every website. It also impacts your site's organic search rankings by increasing user engagement and accessibility. Understanding this, WordPress provides a built-in Media Library for its users to store images, videos, audio, or any other media files. You're able to upload and save files there as well as picking them to add to the content from this library.
However, the challenge lies in the way you manage these files. Since WordPress allows you to arrange everything in time order, it's difficult to look for images uploaded a long time ago. You will find no way to organize or protect them either. That's where WordPress media plugins come in handy.
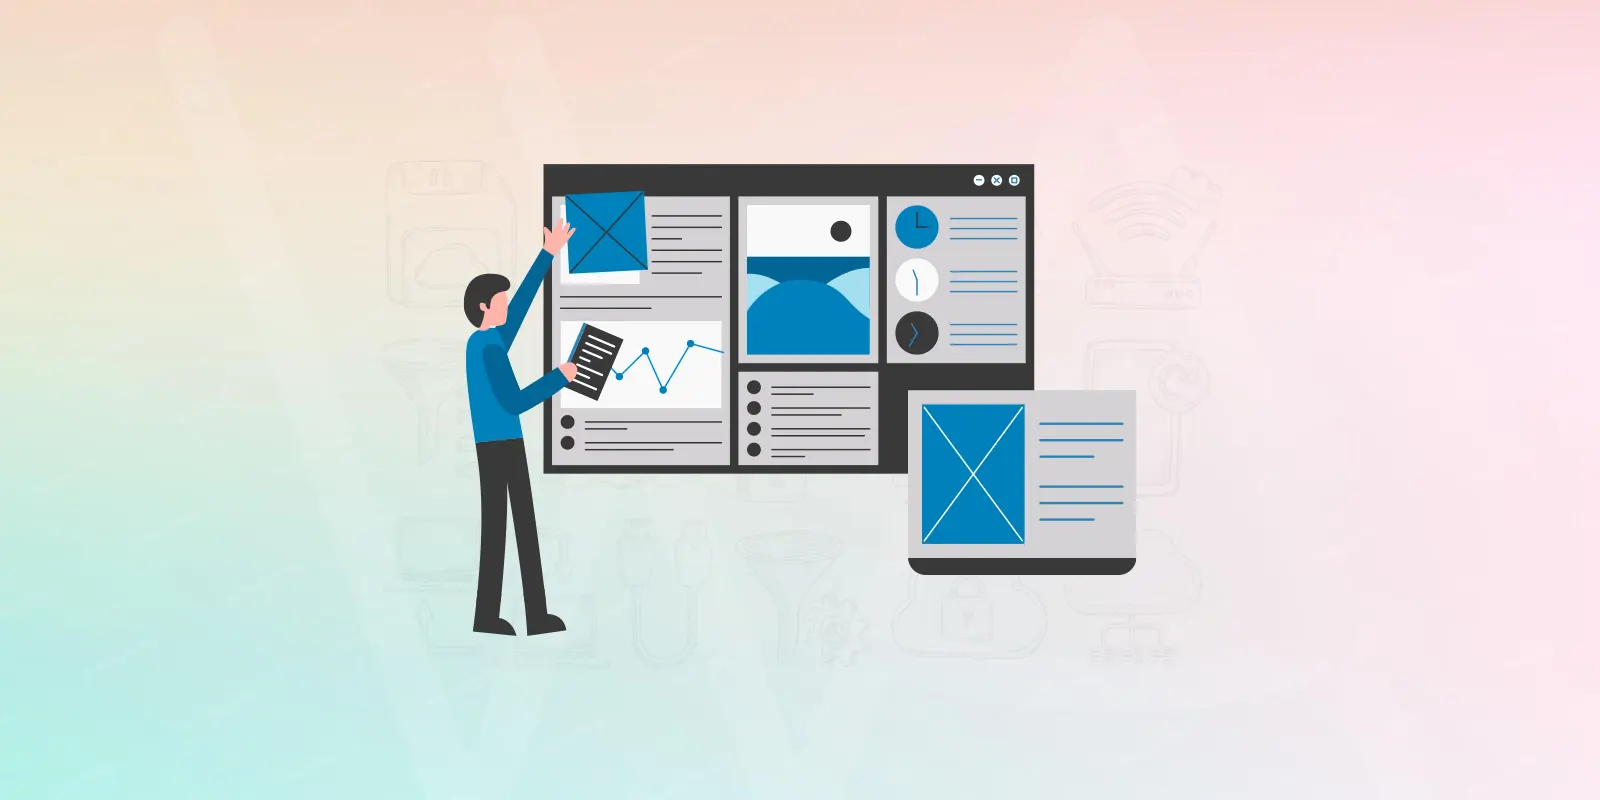
Editing Images in the WordPress Media Library
To edit an image after uploading it to the Media Library, follow these simple steps:
- Select the image you want to edit from the Media Library.
- Click on the "Edit Image" button located below the image thumbnail.
- This will take you to a new window where you can make various edits according to your requirements.
- Once you're satisfied with the changes, make sure to save the edited image.
Within the image editing window, you'll find a plethora of options. These include resizing the image to save storage space, setting alignment, and even deleting the image if necessary. By utilizing these features, you can tailor your images to perfectly fit your website's theme and overall design.
Best WordPress Media Plugins
To help you make the most of your WordPress Media Library, we'll review the top 7 plugins with particular functionality. You can use a plugin to create image categories, another one to add galleries, or a different plugin to protect files.
#1 FileBird Plugin to Create Media Library Folders

Receiving over 100 thousand active installations with a 4.6-star review, FileBird proves the leading position in WordPress media file organization and management. The plugin allows you to create unlimited folders and their subfolders to group your files there. This is the same as what you can do for WordPress categories and posts. The folders won't affect or break your image permalinks.
There are other powerful features provided by FileBird to consider, including downloading media folders, smart context menu, file migration, bulk-delete folders, and tons more. This WordPress media library folder ninja works well with various themes and plugins. The compatible plugin and page builder list will grow if you upgrade to the Premium version which costs $39 annually.
Major Features of FileBird:
- Create and download media folders
- Provide a smart context menu
- Offer a clean UI and a smooth drag & drop feature
- Sort media files and folders
- Delete folders in bulk
- Control all media library folders via a flexible sidebar
- Work well with many themes and page builder plugins
#2 Modula Plugin to Add Media Galleries

Are you a photographer? Or do you work in design? You definitely need a gallery to display and present your photos. Modula is a perfect solution to create and customize galleries on your WordPress site. You don't have to worry about mobile responsive capability or website slowing down due to the heavy plugin since the plugin handles them all.
The premium version of the plugin starts at $39 that gives you more options in gallery customization and optimization. You can even create a wow moment for visitors by adding animation to your gallery. The Import/Export tool lets you move galleries from this site to another easily without touching a piece of code.
Major Features of Modula:
- Have full control over the gallery appearance
- Create mobile responsive galleries
- Crop image automatically
- Sort through the gallery
- Import/ export galleries to another site
- Combine both images and videos in a collection
#3 PDA Plugin to Protect Media Files, Folders, and Galleries

True as its name, PDA aka Prevent Direct Access permits you to prevent your media files of any type from direct accessing and downloading. Once images or PDFs are protected, users won't be able to view them even though they have the files' original URLs. Only authorized users with the right role can have access to these private files.
After installing and activating the plugin, you can head to the Media Library and start securing your files with a few clicks. Out of the box, the protected files won't be indexed and appear on search result pages anymore. There is no chance for visitors to search for your premium private images or videos via Google image search. PDA also assists you in protecting WooCommerce file uploads. Customers find no ways to steal your digital products or reshare them with others.

Major Features of PDA:
- Protect media files from direct access
- Prevent unauthorized users from downloading media files
- Create private access links for users to view private files
- Expire links after a given time or a number of clicks
- Secure individual files or the entire media library at once
- Restrict access to WooCommerce file uploads
- Block search engines from indexing private media files
- Prevent image and file hotlinking
- Secure media files from the root directory
#4 PPWP Plugin to Password Protect Media Files

Primarily coming as a WordPress content protection plugin, Password Protect WordPress (PPWP) enables you to lock individual files, even galleries embedded in your pages and posts too. All you need to do is insert the file in your content then wrap it with the plugin's PCP - Partial Content Protection shortcode. Visitors are required to enter the correct passwords to unlock the file. On the other hand, whitelisted roles like admins or editors are bypassed to the password-protected files automatically.
What's more, you're allowed to set as many passwords for your private files as you'd love to. Each of your users will receive a different password to track your password usage easily. The PPWP Pro version starts with only $14.9 monthly for personal usage with a 3-site license and 1 year of fast support.
Major Features of PPWP
- Password protect unlimited WordPress media files and galleries
- Generate multiple passwords
- Required users to log in before entering passwords
- Work with the PDA plugin to block media file indexing
- Set whitelisted roles to access protected files without having to enter passwords
- Lock other content areas in WordPress: pages, posts, custom post types, and the entire site
- Expire passwords based on time and usage
#5 Media File Renamer Plugin to Rename Media Items

Getting tired of fixing meaningless words like "screenshot", "image-1", "image-2" in your file names? Do you want to rename your files with high-volume keywords to improve the file and entire site SEO performance? Media File Renamer should be your lifesaver. The plugin helps updates the name of your files in the Media Library automatically based on their titles. These media files are also updated anywhere they are inserted, from pages, posts to custom types or metadata.
One thing to notice when using this plugin is that you need to prepare a backup before taking any action on the file renaming process. It's recommended to change the file name one by one before doing this in bulk.
Major Features of Media File Renamer:
- Renames media's file names automatically entries based on their titles
- Change file's name manually
- Edit file name in both Media Library and Media Edit screen
- Offer the modern Renamer Dashboard
- Work well with various plugins
- Auto-rename files based on the attached posts, products, or ALT text
- Group similar file names together to rename them at once
#6 Smush Plugin for Image Optimization

We all know that large-size files increase page loading time - a significant factor that impacts your site ranking. To solve this problem, Smush is designed to optimize your WordPress images for better image size, quality, and SEO performance. Over 1 million users from pole to pole use the plugin to optimize, resize, and compress images in your WordPress media library without any concern about their quality.
The plugin will quickly find which files are taking a lot of your storage and automatically fix them. Additionally, Smush integrates seamlessly with Gutenberg Block letting you view all stats directly in image blocks. Besides the Media Library, the plugin supports image optimization in the directory. Files stored in any folders in the server will be compressed properly.
Major Features of Smush:
- Compress your WordPress images
- Optimize up to 50 images at a time with one click
- Scale down based on a certain width and height
- Find images that are slowing down your site
- Provide unlimited image optimization for all the images up to 5MB in size
- Integrate with Gutenberg Block
- Process all file types, including PNG, JPEG, GIF, and tons more.
#7 Enable Media Replace Plugin for Files Replacement

The process of deleting images, then renaming and reuploading them takes a lot of time. Thanks to the Enable Media Replace plugin, you can replace unnecessary media files with other uploaded images and reduce the clutter without any hassle. Upon activation, the plugin adds a new option called "Replace Media" letting you upload a new file to replace the old one.
There are 2 replacement options for you to choose from, either replacing files of the same type or using a new file name and updating all links. Enable Media Replace is compatible with many image plugins, e.g. ShortPixel Image Optimization, Resize Image After Upload plugin, and Regenerate Thumbnails Advanced.
Major Features of Enable Media Replace:
- Replace an image or file in your Media Library by uploading a new one
- Don't have to delete the existing image
- Update all links of the old file by the new one
- Work compatible with many WordPress image plugins
- Display the last time the file was updated via a shortcode
Exploring Other Online Image Editing Options
In addition to the built-in editing capabilities of WordPress and the powerful plugins mentioned above, there are several online photo editing tools available. These tools offer more advanced features like cropping, adding backgrounds, image format conversions, and resizing. Here are a few notable options:
- Photoshop: Known for its reliability and extensive features, Photoshop is an industry-standard software for professional photo editing.
- Online Image Editor: Though not integrated directly into WordPress, this free tool allows you to resize images with ease.
- Photovisi: Ideal for creating collages and other stylish photo arrangements, Photovisi offers a user-friendly online platform.
- Pizap: With Pizap, you can upload, edit, and design your photos, making it a versatile option for image customization.
- Befunky: A popular tool for social media enthusiasts, Befunky provides an all-in-one solution for image editing and customization.
Conclusion
Incorporating images into your blog posts is an effective way to enhance storytelling and engage your readers. You don't need to be a professional designer to create compelling visuals – with the tools and resources mentioned above, anyone can elevate their image game.
WordPress offers built-in image editing features that allow you to resize, align, and optimize your images for the best performance. Moreover, the plugins we've reviewed can help you organize, protect, and optimize your Media Library, while online photo editing tools can provide additional flexibility and advanced options for customization.
Whether you need to organize files with FileBird, create galleries with Modula, protect content with PDA or PPWP, optimize images with Smush, or simply replace files with Enable Media Replace, these plugins will help you make the most of your WordPress Media Library. With these tools at your disposal, you can create visually captivating blog posts that leave a lasting impression.


Responses (0 )