


“Hearing and seeing something, which exists physically are two different things. When you hear about something then it is likely that you will begin to believe in it, but when you see that thing then it occurs to you that whatever you heard and believed in was accurate”.In WordPress, we see a number of professionals using this, but you will never see any person who uses WordPress without inserting Images/Pictures/Videos/Gifs/Graphs.
From Where Most Bloggers Gets Free Photos / Images
There are multiple websites that offer free and awesome images. There are paid versions also. But mostly free one is sufficient. Especially if you are new. And of course, why spend any money when you are getting free images: copyright free. But not all website owners think that way. There are some big publication houses that use only paid images. For them, their goodwill is more precious. List of Image Websites- Pexels
- Pixabay
- Unsplash
- Getty Images
- Shutterstock
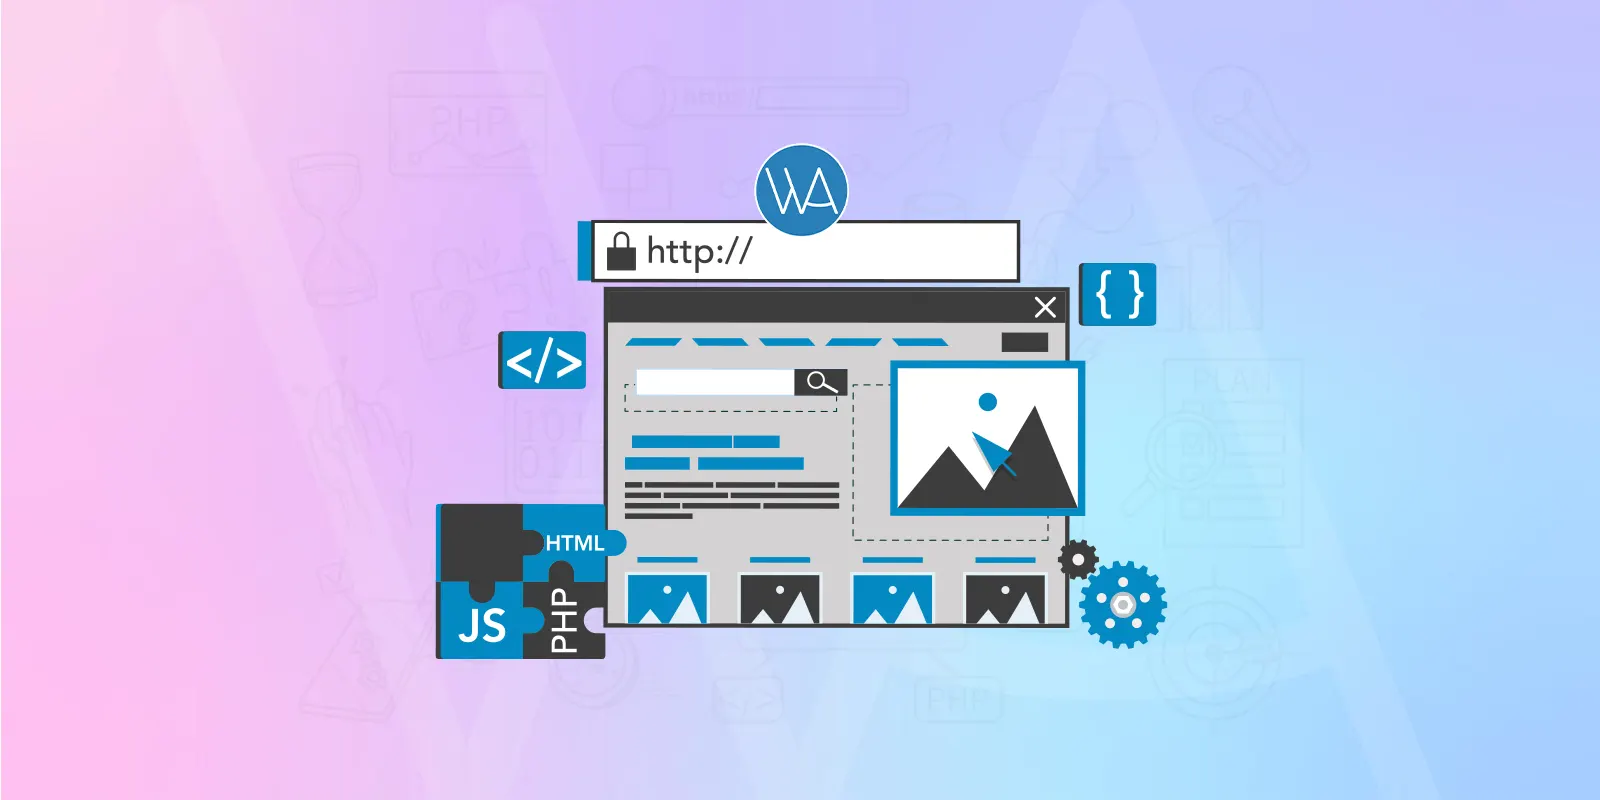
What is the process of adding pictures in WP:
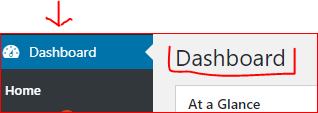
The procedure of adding images in WordPress is not that much difficult. For adding a picture into your page or post:- First login to your WordPress Dashboard.
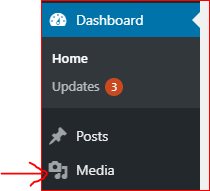
- In WP Dashboard click on Media button
- In Media click on Add New and then select your image or just drag and drop there. (see below)
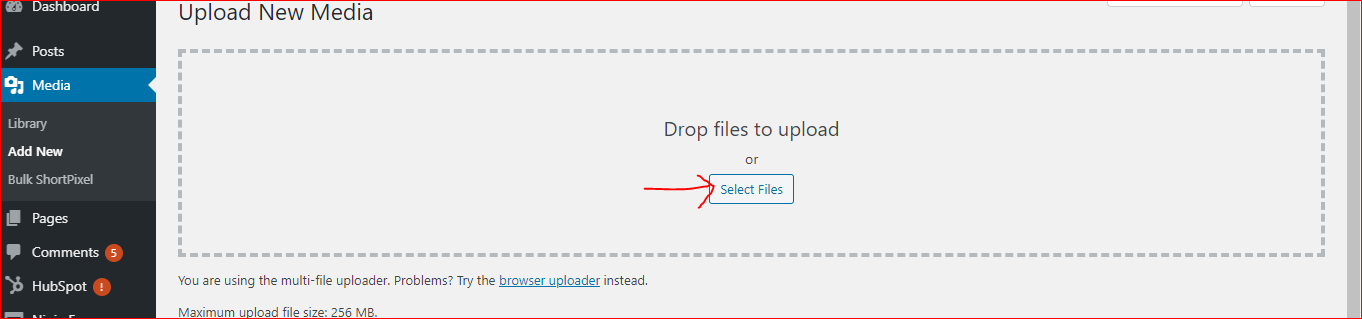
- Your added file will be uploaded automatically.
How to do Image SEO in WordPress?
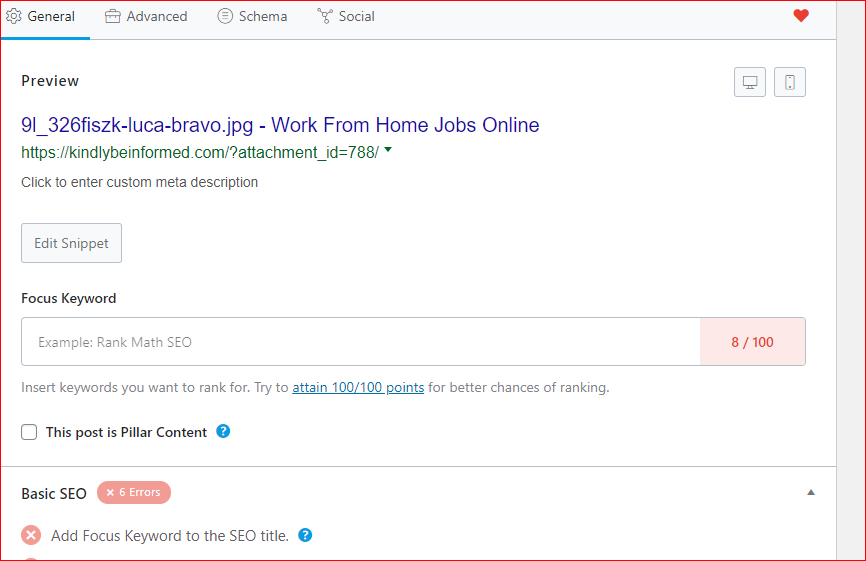
Now when you have successfully added your image into the WordPress Media Library. It’s the time you should have to know about Image SEO. For Image SEO you need to Media Library again and then just click on the image you have added (See Example)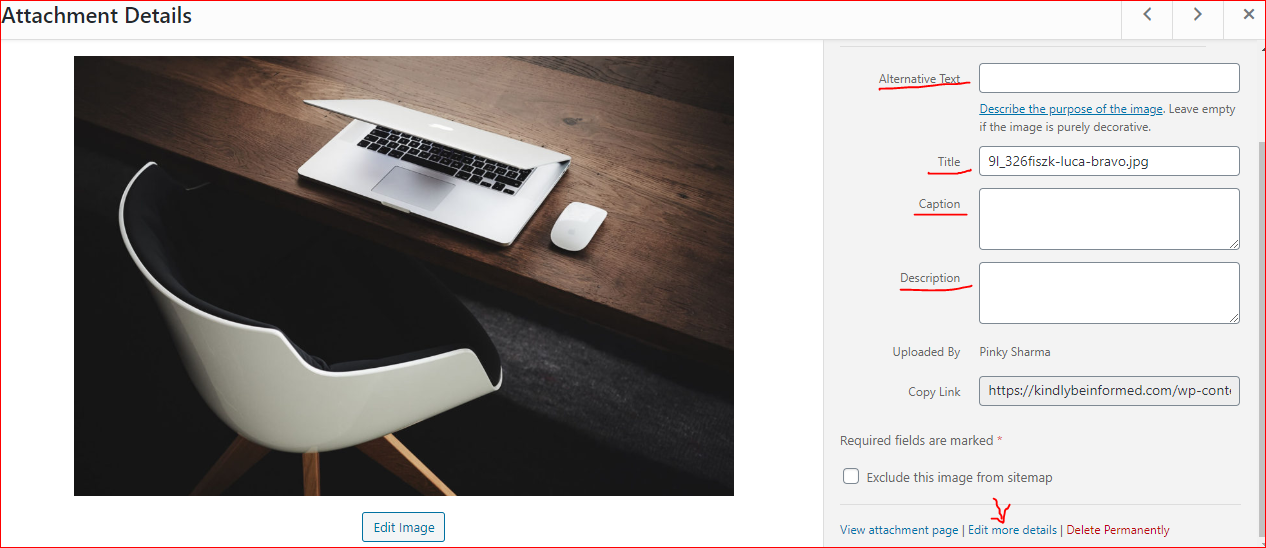 In the above image, you can see some blank texts. For basic SEO, Fill all these details as per your image and website keywords.
And at the end, you can see an option “Edit More Details” click over there and you can add more details and description about your image.
In the above image, you can see some blank texts. For basic SEO, Fill all these details as per your image and website keywords.
And at the end, you can see an option “Edit More Details” click over there and you can add more details and description about your image.
 You can take the help of your SEO plugin like Yoast / RanMath / All in one SEO.. there are many tools for ON-Page SEO.
All these things matter a lot for On-Page SEO and Image SEO.
You can take the help of your SEO plugin like Yoast / RanMath / All in one SEO.. there are many tools for ON-Page SEO.
All these things matter a lot for On-Page SEO and Image SEO.
Basic terms of Image SEO:
Title: You display it as a tool-tip when the mouse drifts over the image in the browser. Caption: You can write the caption below the picture as a short description of the image you uploaded. Basic HTML can be added as well. Alt-Text: You can add it if the browser can’t provide the picture. Google crawler reads Image Alt Text, so it’s essential to fill this field along with the description of the picture. To some extent, it plays a role in your Website Search Engine Optimization (SEO). Since search engines can’t read the text mentioned in the image, they depend on the Alt text of the image. Description: Description of an image is short summary. It is usually shown on the attachment page for the media, but this depends on the theme which a person is using for his website.Another way to add Image in WordPress Page / Post:
As an alternative, Just click on the select files button and add those files which you want to upload. You can go with another option, simply drag your image into the Visual Editor in the page or post section, instead of going for Add Media button.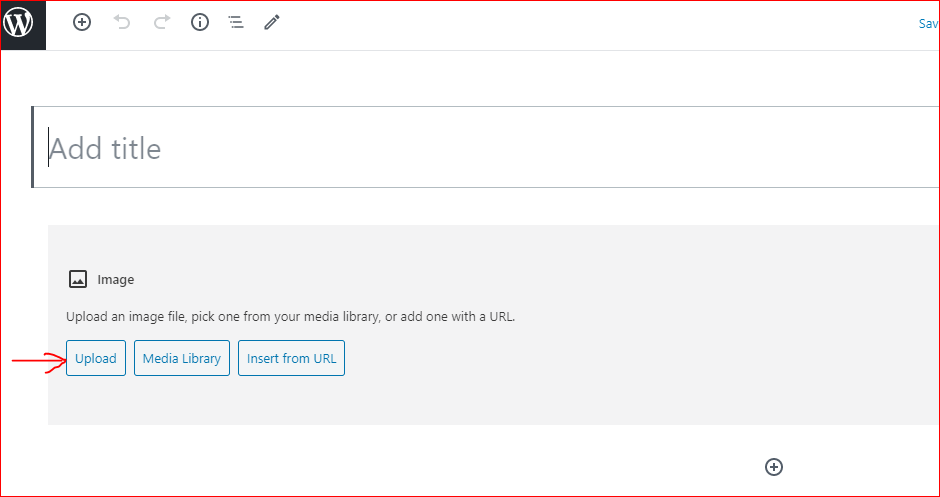 It makes no difference that from where you chose your file ( Media Button or simply by dragging) and uploaded it. Once you upload the image then your media library is displayed, which carries all the images which you uploaded in previous time. Your uploaded image will be ‘selected’ automatically for the sake of putting into your page or post. You can see selected images with a “tick icon” on the top right corner.
Also, after the transfer of your image, you can choose other images which were uploaded previously through the hold of Ctrl key and simply by just clicking.
In order to dismiss an image, click on the ‘tick’ which is located in the top right corner.
You will see the number of images that were selected, at the bottom ground.
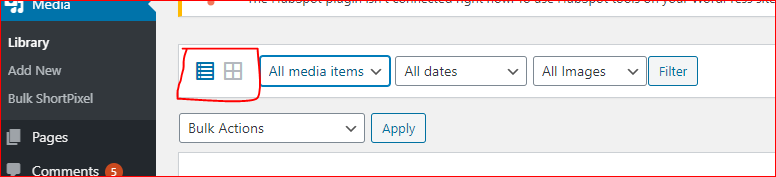
If you feel that you will get confused after seeing so many pictures which you uploaded in previous days, then there are easy ways to have a look through:
You can narrow this list down. There is a dropdown list at the top of the window that permits you to clarify you uploaded images by the option All media items.
The options in this are post/pages, images, audio files, video files, Documents, and unattached files and many other choices.
It makes no difference that from where you chose your file ( Media Button or simply by dragging) and uploaded it. Once you upload the image then your media library is displayed, which carries all the images which you uploaded in previous time. Your uploaded image will be ‘selected’ automatically for the sake of putting into your page or post. You can see selected images with a “tick icon” on the top right corner.
Also, after the transfer of your image, you can choose other images which were uploaded previously through the hold of Ctrl key and simply by just clicking.
In order to dismiss an image, click on the ‘tick’ which is located in the top right corner.
You will see the number of images that were selected, at the bottom ground.
If you feel that you will get confused after seeing so many pictures which you uploaded in previous days, then there are easy ways to have a look through:
You can narrow this list down. There is a dropdown list at the top of the window that permits you to clarify you uploaded images by the option All media items.
The options in this are post/pages, images, audio files, video files, Documents, and unattached files and many other choices.
 Alternatively, you can filter your previously uploaded files by choosing a date, or there is a search option through which you can search for images you want.
The properties of the currently featured picture (for example the picture with the blue border) will appear on the right-hand side of the Insert Media window.
These properties have the filename, the date the record was uploaded, and the picture size.
It's now you change the picture Title, Caption, Alt Text and Description for each picture, just as the Alignment, Link and the Size at which the picture is added.
For the sake of alignment, you can select how you would like it to be aligned, either in left, center or right, by the usage of the alignment list.
You can choose an option “None” for no alignment which means that the image will display by using the default alignment setting for your theme.
When you upload your images, WordPress will make some copies of your file at several sizes.
You can select which one would you like for the sake of insertion into the page or post through the Size dropdown list.
To place the image at the exact size which you uploaded, Just click on Full size.
Close to each size listed in this dropdown will be the real dimensions of the picture, in pixels.
After the selection of your images, just click on Insert into post button to insert the images you selected into your post at the current cursor position.
For changing the order of your images, just click on the button Edit Selection Link at the bottom of the insert media window.
The window will get change so that only selected images will get displayed. As an alternative, if you click at the clear link, it will deselect all images.
When you click the button Edit Selection Link which is at the bottom of the Insert Media window, all images which you selected currently, are shown.
By clicking and dragging each image, you can change the order in which images will appear on your page or post to reorder them.
In addition, You have the option to update the image title, Caption, Alt Text, and description.
For the removal of one of your selected images, click on the small icon that appears on the top right corner of the image when you drift your mouse over the tick.
Also, you can link the image you selected, so the visitor will come to know which URL address you have provided.
Through the attachment page, you can link your selected image to its WordPress media.
Alternatively, you can link your image directly to the original version of the file. Also, you can click on None if you don’t want to link your image to anything.
If you click at the Return to Library button, it will take you back to the screen that gives the option to you to select or deselect. When you update the order and features of your images, then click on Insert into post button to insert the images, which you selected, into your post at the current cursor position. ( If you are editing a page, then this button will say Insert into the page ).
During the editing of your Post/page, If you want to add an image that you uploaded earlier, then click on the button Add Media.
When the Pop-up window displays, click on the Media Library tab at the top of the pop window instead of dragging a new file into the upload window.
Alternatively, you can filter your previously uploaded files by choosing a date, or there is a search option through which you can search for images you want.
The properties of the currently featured picture (for example the picture with the blue border) will appear on the right-hand side of the Insert Media window.
These properties have the filename, the date the record was uploaded, and the picture size.
It's now you change the picture Title, Caption, Alt Text and Description for each picture, just as the Alignment, Link and the Size at which the picture is added.
For the sake of alignment, you can select how you would like it to be aligned, either in left, center or right, by the usage of the alignment list.
You can choose an option “None” for no alignment which means that the image will display by using the default alignment setting for your theme.
When you upload your images, WordPress will make some copies of your file at several sizes.
You can select which one would you like for the sake of insertion into the page or post through the Size dropdown list.
To place the image at the exact size which you uploaded, Just click on Full size.
Close to each size listed in this dropdown will be the real dimensions of the picture, in pixels.
After the selection of your images, just click on Insert into post button to insert the images you selected into your post at the current cursor position.
For changing the order of your images, just click on the button Edit Selection Link at the bottom of the insert media window.
The window will get change so that only selected images will get displayed. As an alternative, if you click at the clear link, it will deselect all images.
When you click the button Edit Selection Link which is at the bottom of the Insert Media window, all images which you selected currently, are shown.
By clicking and dragging each image, you can change the order in which images will appear on your page or post to reorder them.
In addition, You have the option to update the image title, Caption, Alt Text, and description.
For the removal of one of your selected images, click on the small icon that appears on the top right corner of the image when you drift your mouse over the tick.
Also, you can link the image you selected, so the visitor will come to know which URL address you have provided.
Through the attachment page, you can link your selected image to its WordPress media.
Alternatively, you can link your image directly to the original version of the file. Also, you can click on None if you don’t want to link your image to anything.
If you click at the Return to Library button, it will take you back to the screen that gives the option to you to select or deselect. When you update the order and features of your images, then click on Insert into post button to insert the images, which you selected, into your post at the current cursor position. ( If you are editing a page, then this button will say Insert into the page ).
During the editing of your Post/page, If you want to add an image that you uploaded earlier, then click on the button Add Media.
When the Pop-up window displays, click on the Media Library tab at the top of the pop window instead of dragging a new file into the upload window.


Responses (2 )