I often find that the default thumbnail cropping doesn’t suit me. Just after I have uploaded an image, or after I pull it up in the “add media” screen, you’ll see a button that says Edit Image, just underneath the thumbnail in the image above.
How To Crop Images in WordPress:

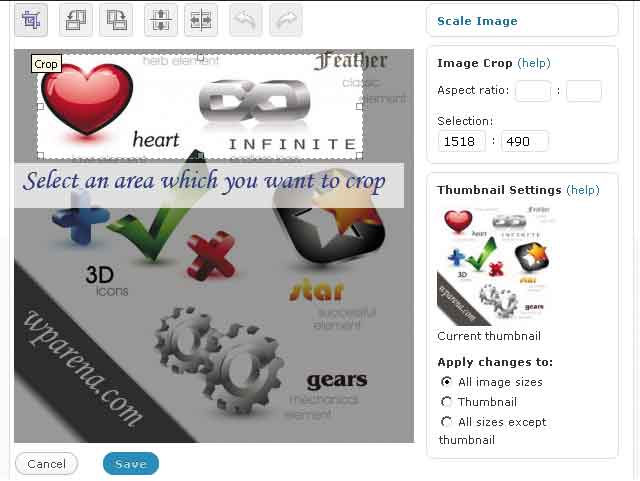
- After uploading Click “Edit Image” and you’ll get a little editing screen.
-
Select the Area which you want to Crop.
-
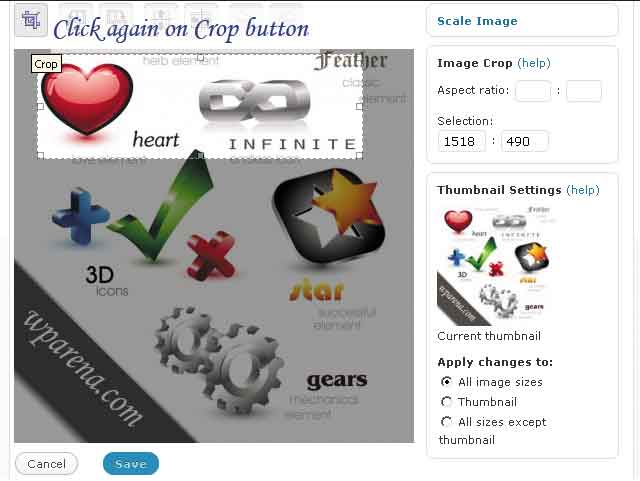
After Selecting an area, Click again on Crop button.

- Click on Save button. And your image will be cropped. After cropping and saving you can restore your original image to its original form by click on “Restore to Original Form“.

This video is a great overview of all these steps:
How to Add Post Thumbnails in WordPress
WordPress Plugins for Thumbnail Management:
1. Scissors
Scissors enhances WordPress’ handling of images by introducing cropping, resizing, rotating, and watermarking functionality.
2. Thumbnail For Excerpts
Thumbnail For Excerpts allow easily, without any further work, to add thumbnails wherever you show excerpts (archive page, feed…)
3. R.I.P. ImageManager
The ImageManager plugin integrates the stand alone PHP ImageManager + Editor with WordPress. The ImageManager provides an interface for browsing and uploading image files on/to your server. The Editor allows for some basic image manipulations such as, cropping, rotation, flip, and scaling.
4. WP Vivtiger Image Resizer
Allows users to crop and resize an image easily using the WordPress attachment system.
5. WP Post Thumbnail
This plugin enables bloggers to upload images, crop and save it as post thumbnails without manually copy-n-paste custom field values. For theme develop
6. Auto Post Thumbnail
Automatically generate the Post Thumbnail (Featured Thumbnail) from the first image in post or any custom post type only if Post Thumbnail is not set


