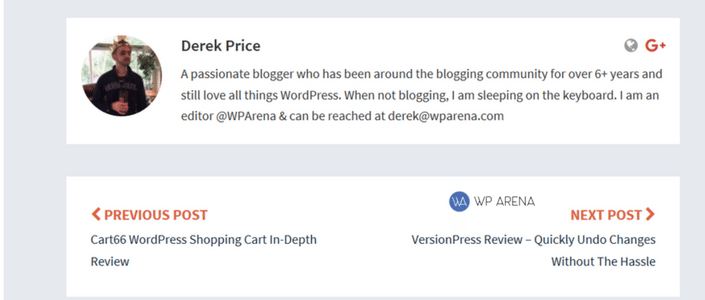
For the Multi-author sites, or even single author blogs, did you know that you can add an author box at the end of each blog post? This is done through your user profile. Just fill in a box and if the theme supports the author box, it will appear. I’ll share a plugin or two if you want a more customized box. You know what, here are some plugins that are all great to use.

There are three things that we need to get to display Author Bios:
- The author‘s name
- The author‘s short bio
- The author‘s photo

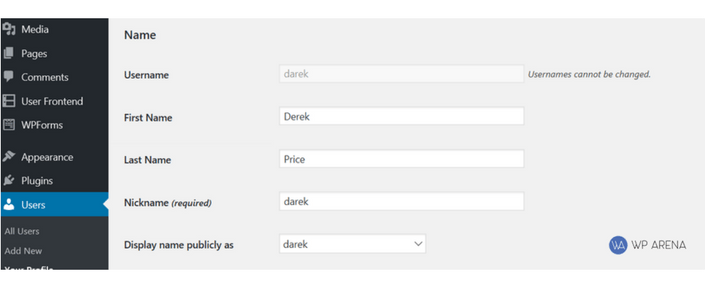
1. The author‘s name
The easiest way for this, There is a built-in WordPress function for displaying it. Go edit your profile and make sure you fill in all the top fields. You never know when a plugin will use this information.

You can change the “Display Name” under user Profile setting, If you don‘t do this, it will show the username of the Author, which among other limitations, doesn‘t allow spaces.
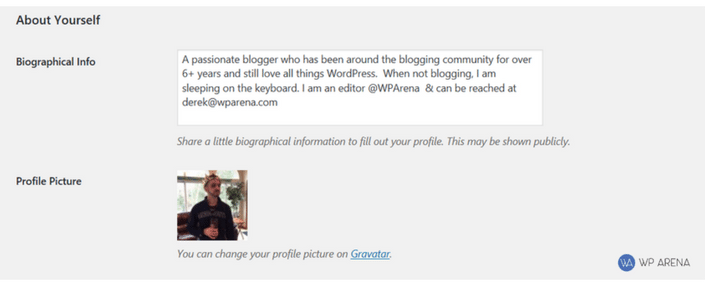
2. The author‘s short bio:
This is also very easy to set up, just a lesser-known WordPress function:
This biography information you can add directly to any user from the Admin area.
Just edit the user profile and add the bio, and save.

3. The author‘s photo:
To get an author‘s photo is slightly trickier. There are a few different ways you can take. The best solution that I will recommend is just using whatever email address you have added to Gravatar.com use that in your profile so your image will appear. This is what I have done.
Why Are Author Box’s Important
One of the main things filling in your blog profile when you have access to a blog has it filled out and a gravatar set up. When you submit a guest blog post for a review, having a professional author box is a bonus and shows you mean business. It’s the tiny things that count yet not many people will add the author box to there posts.
Any questions or suggestions?
Don’t forget to share this blog post with your friends.


