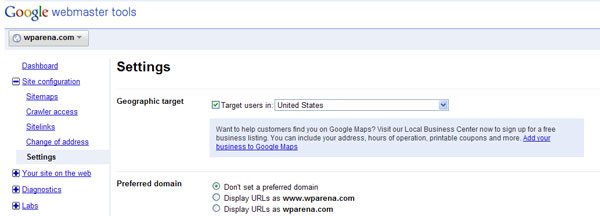
Google, Bing, and Yahoo! offer tools that provide you with detailed information and statistics about how your readers access and index your website.
For using these tools, you need to sign up for an account with the service of your choice and verify your blog or website. Use the following instructions to verify your blog with one or more of the services.
At the end of this guide, we will let you know about a plugin that can make the verification process smoother and can be done right from your WordPress admin panel.

1. Google Webmaster Tools
- Log in to Google Webmasters Tools.
- Click Add a site.
- Enter your blog URL then click Continue.
- Copy the meta tag, which looks something like <meta name=”google-site-verification” content=”ZKn7tbotktR32aekvIGxtLMS3s7C7E80E1J5-aeh1Pw” />.
- Leave the verification page open and go to your blog Dashboard.
- Open the Tools, Tools page and paste the code in the appropriate field.
- Click Save Changes.
- Go back to the verification page and click Verify.
Verify Your WordPress Website in Google Webmaster Tools
2. Yahoo! Site Explorer (Shut Down)
- Log in to Yahoo Site Explorer with your Yahoo! account. You can also submit your site as a Guest.
- Enter your blog URL and click Add My Site.
- You are presented with several authentication methods. Choose By Adding a META Tag to My Home Page.
- Copy the meta tag, which looks something like <META name=”y_key” content=”99dd95bf0abb1c40″> .
- Leave the verification page open and go to your blog Dashboard.
- Open the Tools, Tools page and paste the code in the appropriate field.
- Click Save Changes.
- Go back to the verification page and click Ready to Authenticate.
- Go to the main page using the My Sites link on the left. In the status column, look for a green check mark indicating your site has been validated.
3. Bing Webmaster Center
- Log in to Bing Webmaster with your Live! account. You need to install Microsoft Silverlight
- Click Add a Site.
- Enter your blog URL and click Submit.
- Copy the meta tag from the text area at the bottom. It looks something like <meta name=’msvalidate.01’ content=’F2898F8116A7D458B0146B0DEAF9AA9F’>.
- Leave the verification page open and go to your blog Dashboard.
- Open the Tools, Tools page and paste the code in the appropriate field.
- Click Save Changes.
- Go back to the verification page and click Return to the Site List.
Most authentication will take a few minutes; however, it might take up to 24 hours.
After site validation, Use the webmaster tools to leverage the power of these search engines to determine who is linking to your site, what pages are most popular, and other statistics.
Webmaster Tools Verification Plugin for WordPress

Easily verify your site with Google Webmaster Tools, Yahoo Site Explorer, and Bing Webmaster Center in both WordPress and WPMU.
You can find more details about using this plugin, follow this link for more details.


