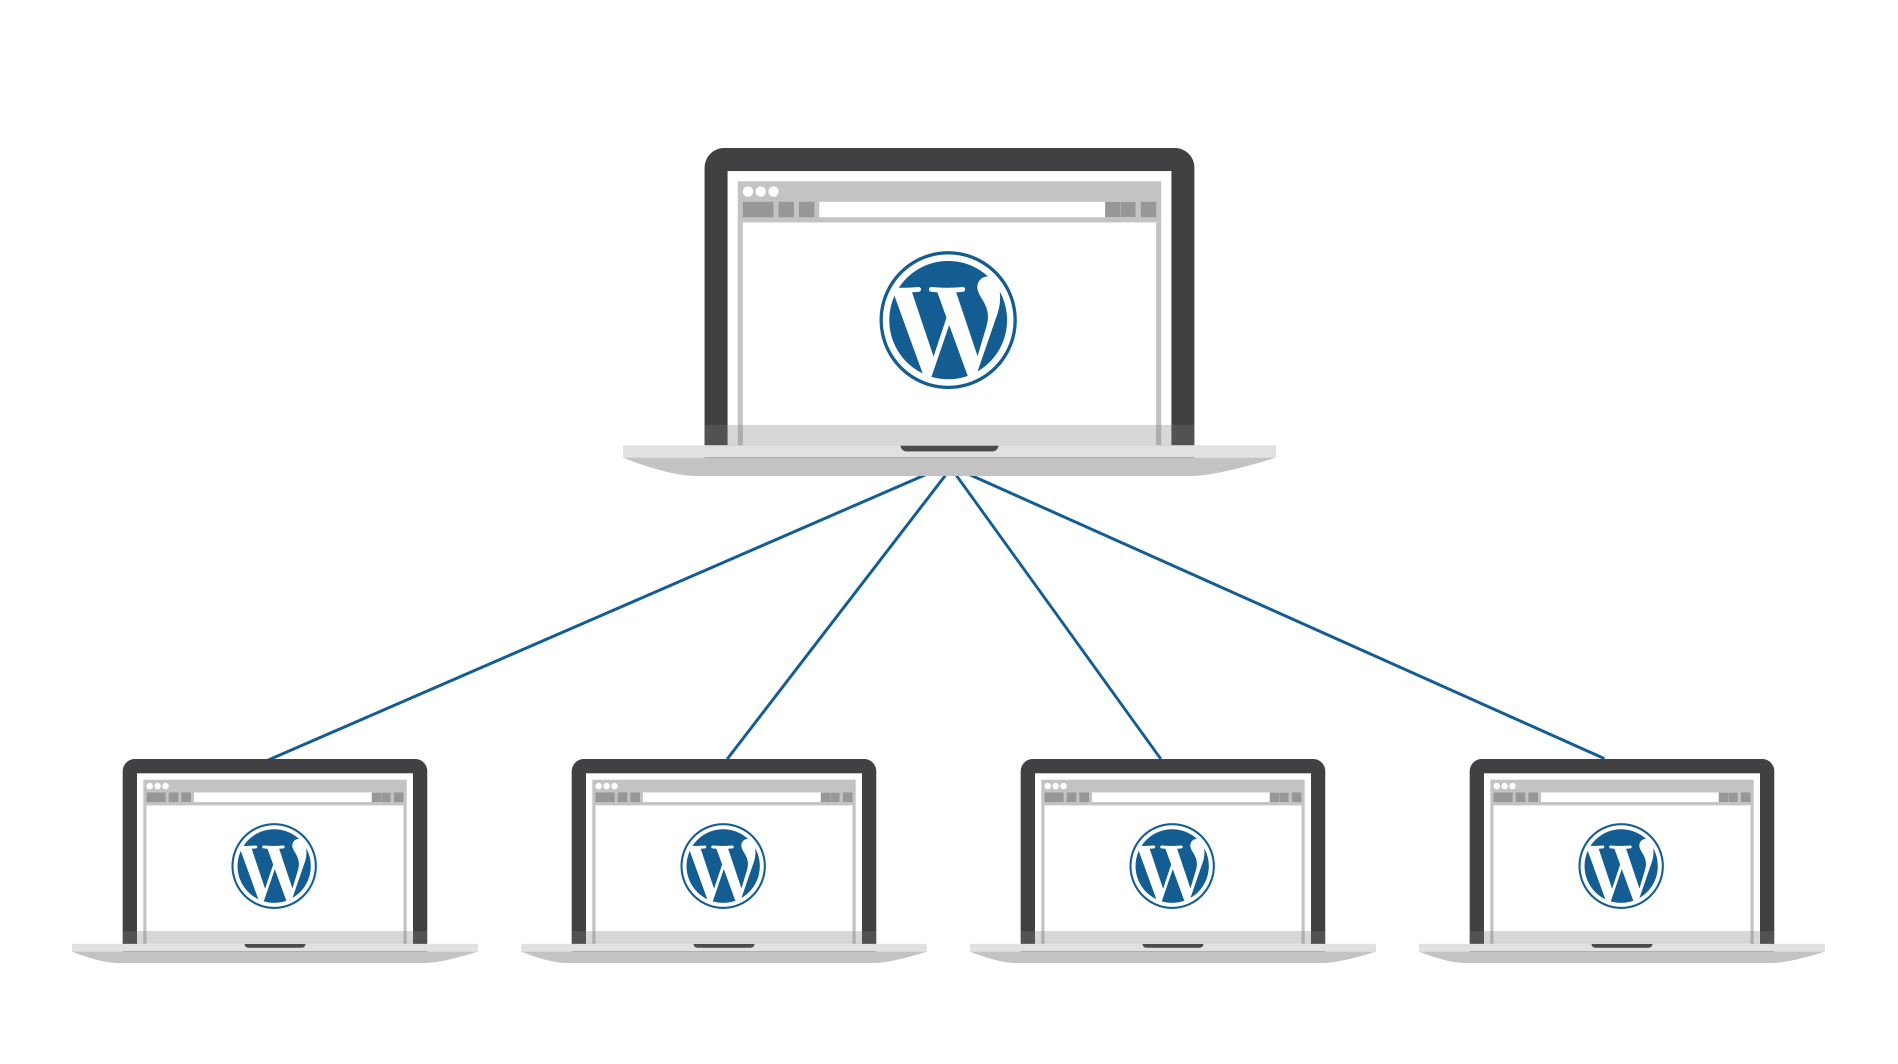
Enabling Multisite Network in WordPress allows you to manage multiple websites from a single WordPress installation. This tutorial will guide you through the process of enabling Multisite Network in WordPress, covering both the subdomain and subdirectory methods.
Before proceeding, please ensure that you have a backup of your WordPress installation in case anything goes wrong during the process.
Table of Contents
Method 1: Subdomain
Step 1: Update wp-config.php
Access the root directory of your WordPress installation and open the wp-config.php file. Just before the line /* That's all, stop editing! Happy blogging. */, add the following code:
define('WP_ALLOW_MULTISITE', true);
Save the file and close it.
Step 2: Network Setup
Log in to your WordPress admin area and navigate to Tools > Network Setup. Provide the requested information, such as the Network Title and Admin Email Address.
Choose the “Sub-domains” option under the “Addresses of Sites in your Network” section. This method requires a wildcard DNS record set up on your hosting server. If you’re unsure about how to set up a wildcard subdomain, please consult your hosting provider or search for a tutorial specific to your hosting environment.
Click on the Install button.
Step 3: Update Configuration Files
After the installation, WordPress will present you with some code that needs to be added to the wp-config.php and .htaccess files.
Open the wp-config.php file again and paste the provided code just above the line /* That's all, stop editing! Happy blogging. */.
Access the .htaccess file (located in the root directory), replace the existing WordPress rules with the new code provided by WordPress, and save the changes.
Step 4: Log in as Super Admin
You will now find a new menu option called Super Admin in your WordPress dashboard. Congratulations! You are now the Super Admin with full control over your Multisite Network.
Method 2: Subdirectory
Step 1: Update wp-config.php
Repeat Step 1 from the subdomain method to update the wp-config.php file.
Step 2: Network Setup
Similar to the subdomain method, navigate to Tools > Network Setup in your WordPress admin area. Fill in the required information and choose the “Sub-directories” option under the “Addresses of Sites in your Network” section.
Click on Install.
Step 3: Update Configuration Files
Follow the same instructions as in Step 3 of the subdomain method to update your wp-config.php and .htaccess files with the provided code.
Step 4: Log in as Super Admin
Once the configuration is complete, you will see the Super Admin menu option, granting you full control over your Multisite Network.
Conclusion
Enabling Multisite Network in WordPress allows you to efficiently manage multiple websites using a single WordPress installation. In this tutorial, we covered two methods: subdomain and subdirectory.
Remember to have a backup of your WordPress installation before making any changes. If you encounter any issues or need further assistance, consult the official WordPress Codex or search for updated tutorials specific to your WordPress version.
Now you’re ready to leverage the power of WordPress Multisite!


