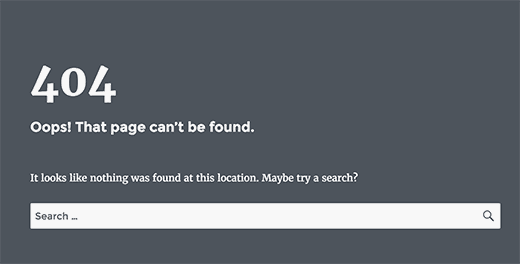
Imagine you’re browsing a website, excited to read an article or check out a product, and bam—you hit a “Page Not Found” wall. Annoying, right?
That’s a 404 error page that shows up when a link leads to nowhere. But here’s the kicker: a boring, default 404 page can make visitors leave your site for good. Conversely, a thoughtful, engaging 404 page can turn that frustration into a chance to keep them exploring. We are going to personalize wordpress 404 error page using all type of options to help you increase visitors stay on your website.
You don’t need to be a tech expert to make your 404 page better. You can use plugins for a quick fix, explore your theme’s built-in options for a smoother approach, or roll up your sleeves and tweak the code yourself if you’re feeling adventurous.
Each method has its benefits, and we’ll guide you through the steps to make your 404 page a helpful pit stop instead of a dead end. Ready to get started?
Let’s go!
What is a 404 Error Page
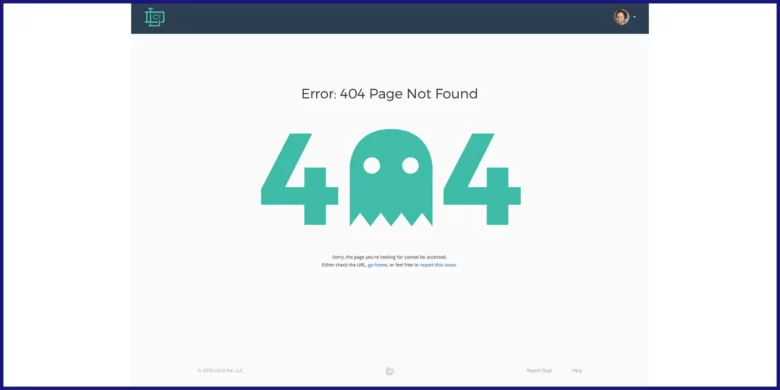
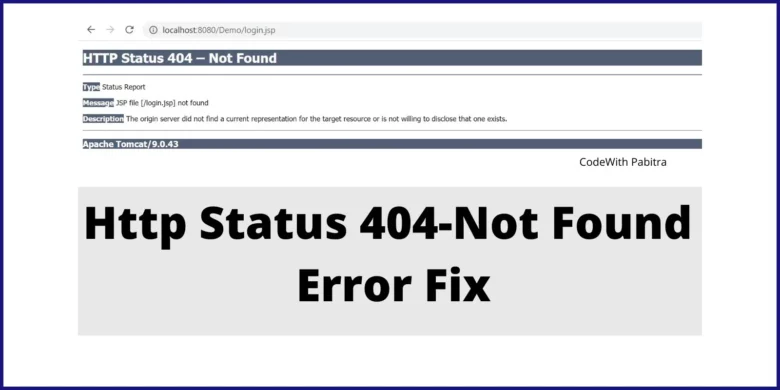
We’ve all been there—clicking a link only to be met with a “404 Page Not Found” message. A 404 error happens when a page doesn’t exist, often due to broken links, deleted content, or typos in the URL.
While it’s a common occurrence, how you handle it can leave a lasting impression on your visitors.
A default 404 page does more harm than just frustrating visitors. It increases bounce rates, damages user engagement, and can even hurt your SEO rankings.
On the other hand, a custom 404 page can turn this hiccup into an opportunity. You can keep them on your site longer and improve their overall experience by guiding users back to relevant content or offering helpful navigation.
Why Customizing Your 404 Page Matters
- A well-designed 404 page can help users find other parts of your website instead of leaving.
- Offering helpful links, a search bar, or even a touch of humor can make the experience less frustrating.
- A custom 404 page helps search engines understand your website’s structure better, which can positively impact your rankings.
3 Methods to Tackle 404 Error Pages
Dealing with a 404 error page is not a huge issue. You can do it easily, whether you’re using plugins for a quick fix, using your theme’s built-in options, or writing manual coding, there’s a solution for every skill level.
Let’s elaborate on these methods to create a 404 page that keeps users engaged and supports your SEO efforts.
Also Read: How to Add Categories and Subcategories in WordPress
Method 1: Customizing with WordPress Plugins
Sometimes, the simplest solutions are the most effective. WordPress plugins make it incredibly easy to transform your 404 page into something useful and engaging.
You can add helpful links, a search bar, or even a touch of personality in just a few clicks to keep visitors landing on your website.
Here is a step-by-step guide on how to use different plugins:
404 page_Your Dream Plugin
We have covered each step to guide you through the process here:
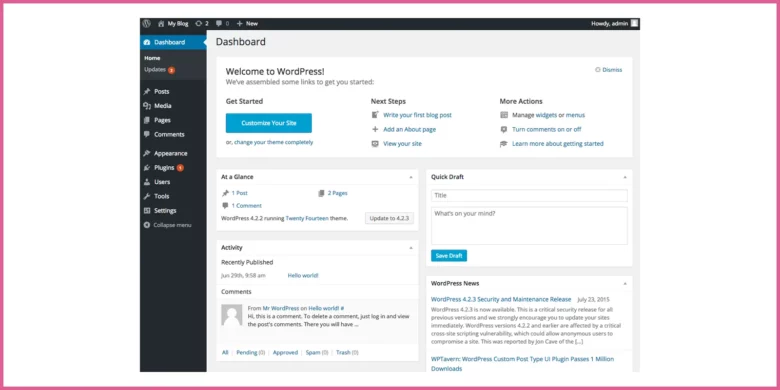
- Log in to your WordPress Admin dashboard
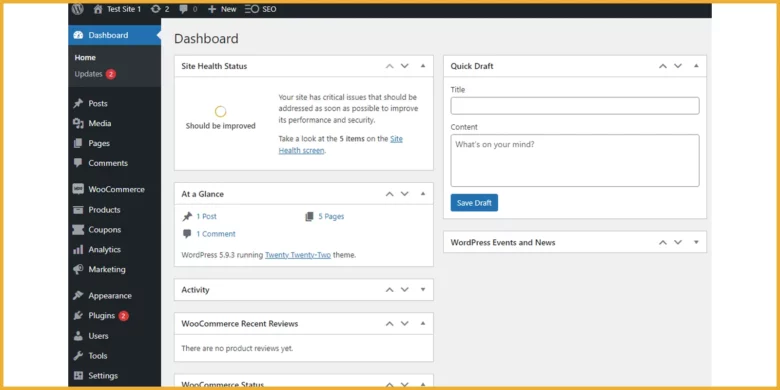
2. Go to the left-hand menu and select Plugins > Add New
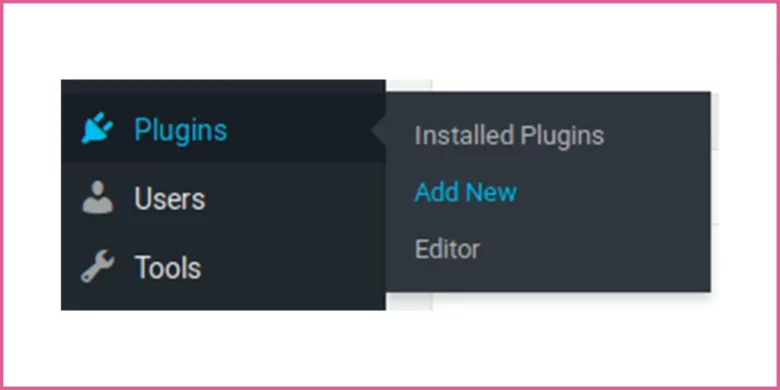
3. Type 404Page (the name of the plugin) in the search bar on the right side of the dashboard
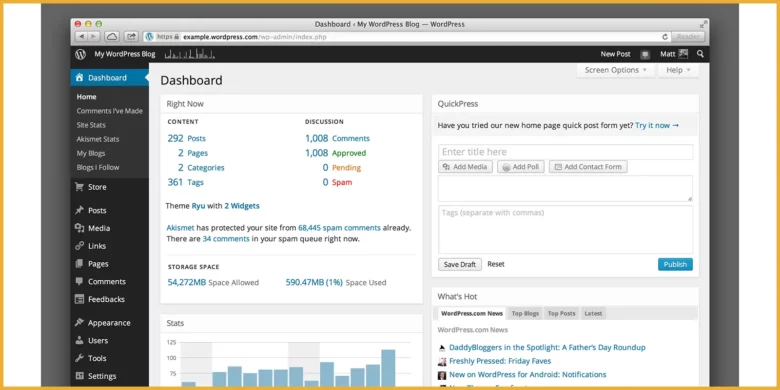
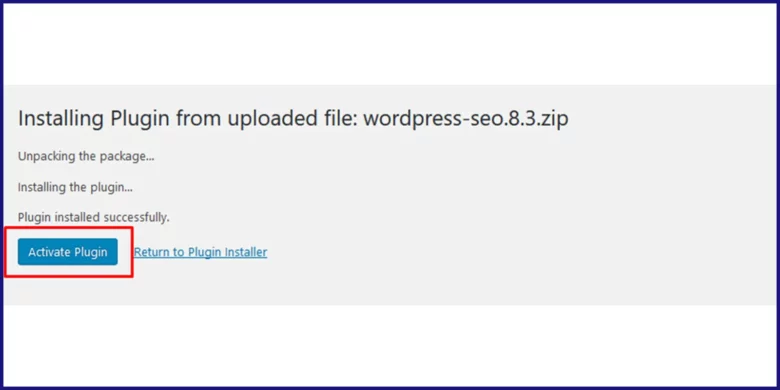
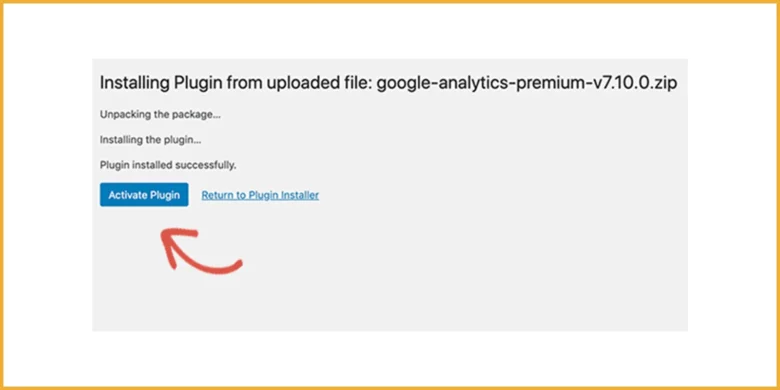
4. Click Install, then Activate the plugin
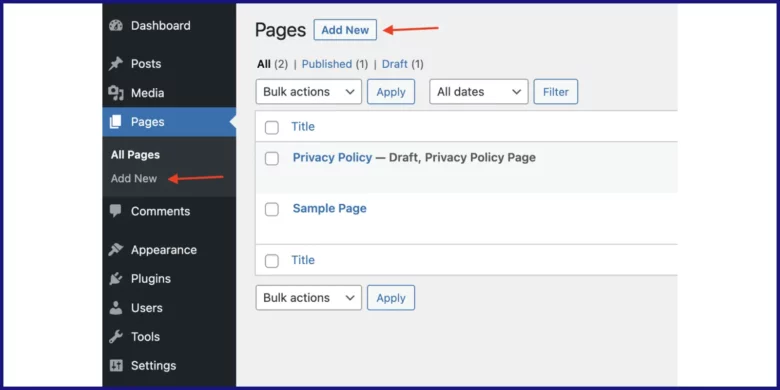
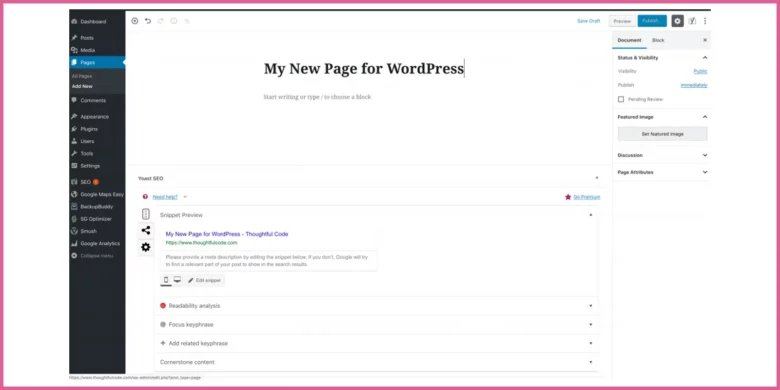
5. Create a new page that will serve as your 404 error page by going to Pages > Add New and designing your page
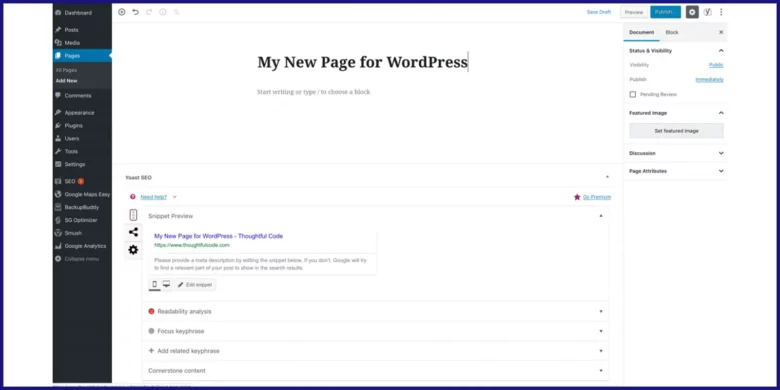
6. Personalize the new page using the WordPress Editor or the Customizer, depending on your theme (e.g., Mesmerize theme)
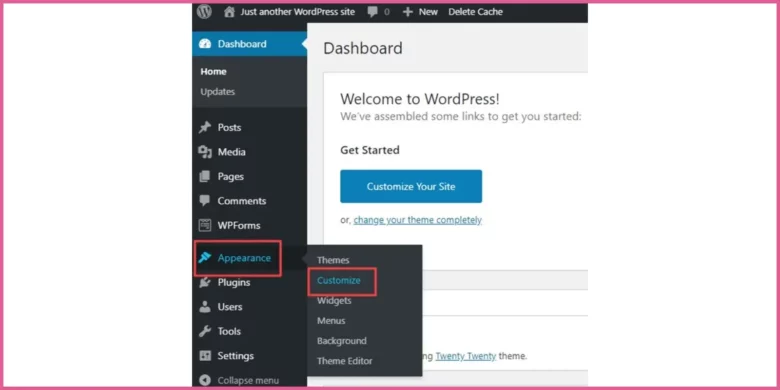
Configure Plugin Settings
A well-designed 404 page can turn a devastating dead end into a helpful detour for your visitors. You can start by updating the default message with a friendly explanation of the error.
Then add a search bar and clear navigation links, like “Go to Homepage” or “Browse Categories,” to help users find what they’re looking for.
Don’t forget to adjust visual elements such as colors, fonts, and images so that the page reflects your brand’s style.
Here are a few steps to do it properly:
- Edit the heading, subheading, and descriptive text to explain the error in a clear, approachable way.
- Upload a custom background image or icon that fits the 404 theme and adds visual appeal.
- Match the text and background colors to your website’s theme for a cohesive look.
- Set clear call-to-action buttons, such as “Go to Homepage” or “Explore More,” to guide users effectively.
- Use custom CSS for precise styling or integrate social media buttons for added engagement, if available.
Testing Your 404 Page
- Access a non-existent URL on your website to see how the 404 page appears.
- Verify that all design changes, including text, images, and buttons, display correctly.
- See the page is accessible, with readable text sizes and proper color contrast for users with disabilities.
Custom 404 Pro–Your Techy Friend
Creating a custom 404 page doesn’t have to be complicated, especially with the right tools. The Custom 404 Pro plugin makes it easy to design a page that not only looks great but also helps your visitors find their way back to your content.
Plus, it lets you track broken links so you can fix them over time. Here’s how to get started:
Step 1: Install the Plugin
- Log in to your WordPress Admin dashboard—this is where the magic begins.
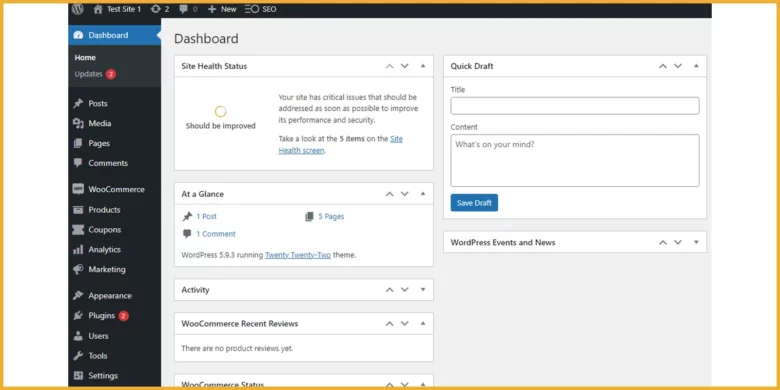
- Head to the left-hand menu and click on Plugins > Add New.
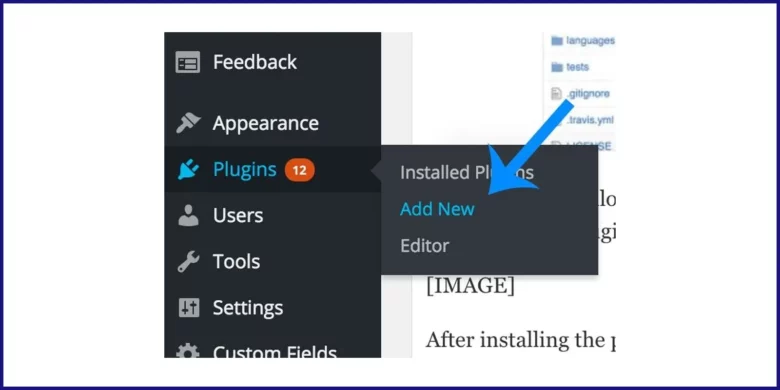
- Type Custom 404 Pro (yes, that’s the plugin you need) in the search bar on the right.
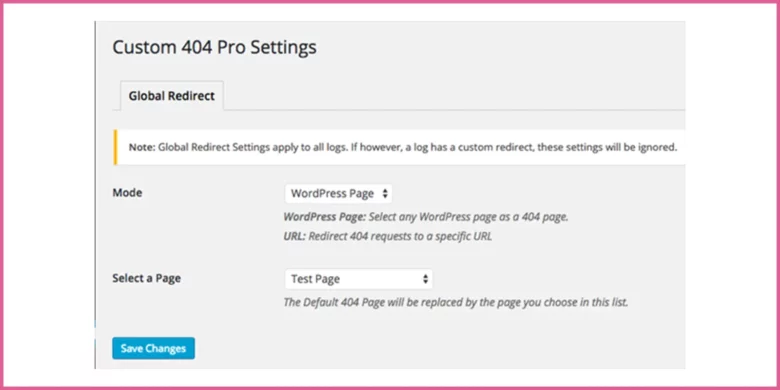
- Click Install, then Activate to bring the plugin to life.
- Create a brand-new page by going to Pages > Add New—this will be your shiny new 404 error page.
- Make it your own using the WordPress Editor or Customizer, depending on your theme.
Also Read: How to Avoid Common Mistakes That Can Impact Your WordPress Blog
Step 2: Configure Plugin Settings
- Edit the default message to include a friendly explanation of the error.
- Add a search bar and navigation links, like “Go to Homepage” or “Browse Categories,” to guide users.
- Adjust colors, fonts, and images to match your brand’s style.
- Use the plugin’s interface to preview your changes before saving.
Step 3: Preview and Test
- Check how the page looks on both desktop and mobile devices.
- Make sure all links and the search function work properly.
- Test the page by visiting a non-existent URL on your website.
- Make any final adjustments based on feedback or performance tests.
If you’re using a WordPress Full Site Editing Theme, the process is even simpler:
- Go to your WordPress dashboard, click on Appearance, and then select Editor
- Choose Templates under Editor
- Select the 404 template to start customizing
- Use the block editor to design your 404 page, then click Save twice to save the template.
Method 2: Using a Theme with Built-In 404 Customization
You have already created a 404 page and want to show that page instead of the default 404 page then this method can help you out.
Creating a Custom 404 Page with Divi Theme Builder
A well-designed 404 page can turn a frustrating experience into a positive one by guiding visitors back to your content.
Divi Theme Builder can fully customize your 404 page to match your website’s style and provide helpful personalization options. Here’s how to do it:
Step 1: Select a Compatible Theme
Firstly check that your current theme supports 404 page customization. If not, consider switching to a theme like Divi, which offers vast customization options.
Step 2: Access the Theme Customization Panel
1. Go to your WordPress Dashboard and move to Divi > Theme Builder
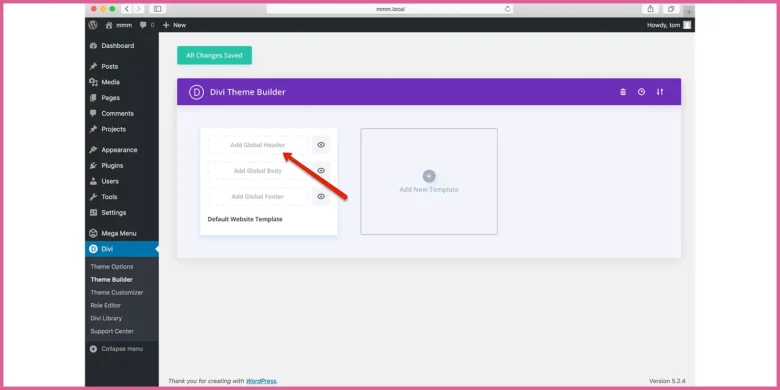
2. Click on the Add New Template icon and select Build New Template
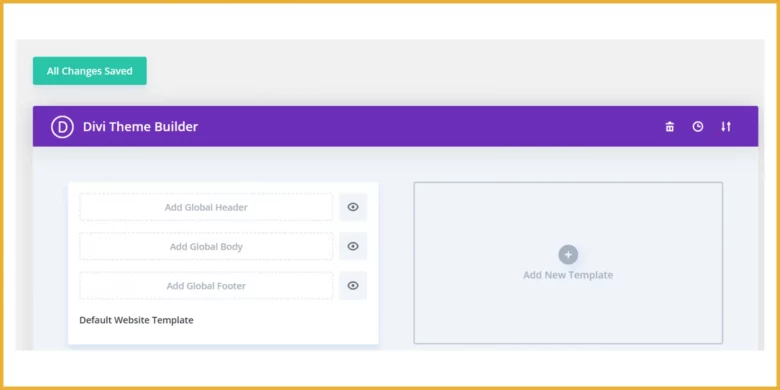
3. Scroll down and check the 404 Page option in the modal window
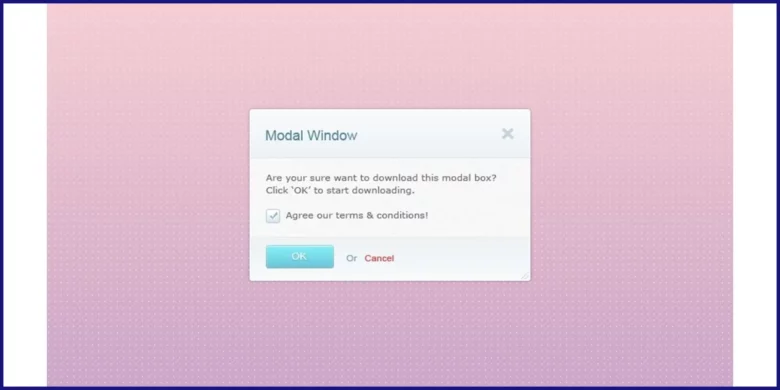
Step 3: Customize the 404 Page Design
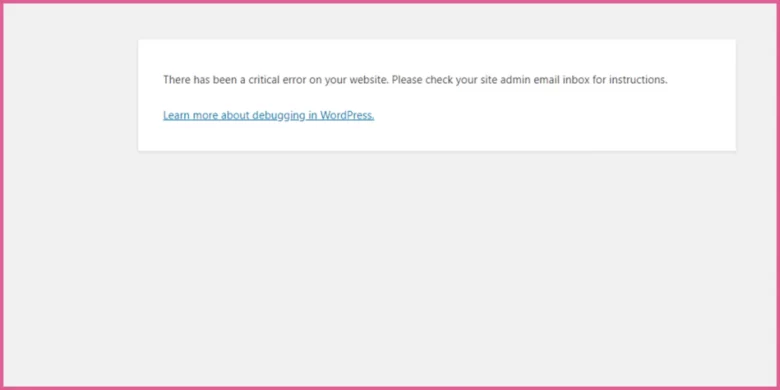
1. Add a clear, friendly error message to explain the issue
2. Incorporate brand elements like logos, colors, and fonts for consistency

3. Insert helpful links, a search bar, or even dynamic content like recent posts to keep users engaged
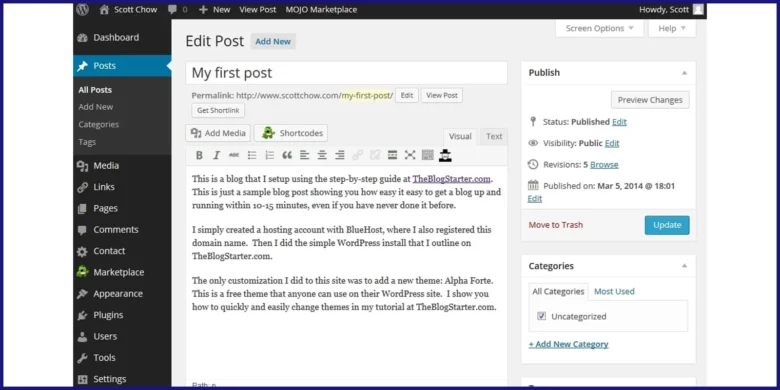
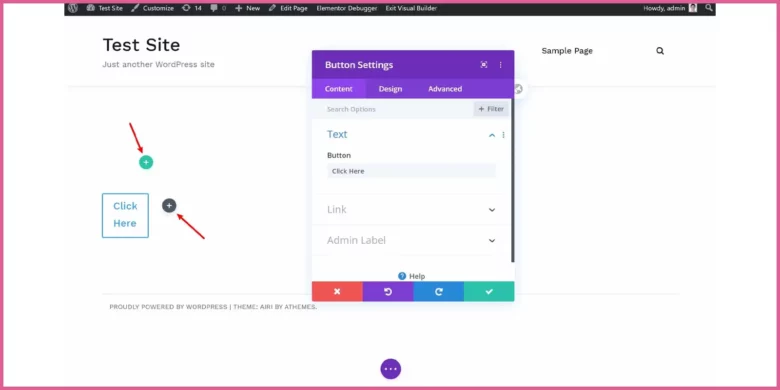
4. Use Divi’s built-in editor to adjust these elements until the page looks just right.
Step 4: Save and Test
1. Preview the page on different browsers and devices to check it’s responsive

2. Test all links and functions to make sure everything works smoothly
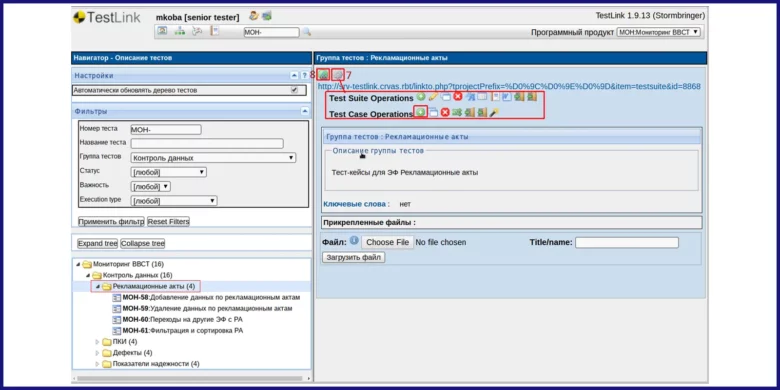
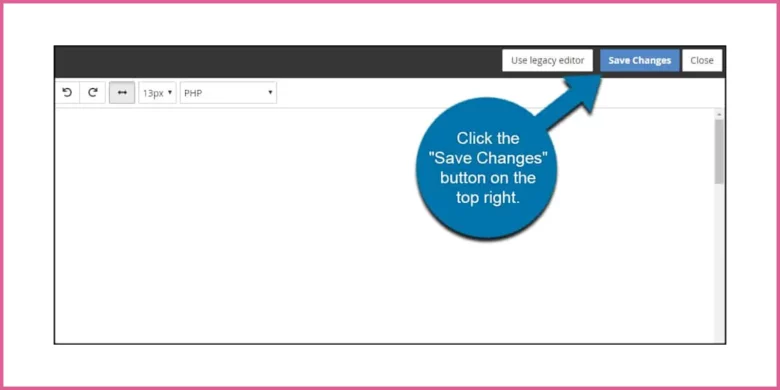
3. Save your changes and gather feedback to fine-tune the design further.
Customizing Your 404 Page with Avada Theme
Creating a custom 404 page with the Avada theme is a great way to turn a potential dead page into a helpful guide for your visitors. You can add a custom title bar, content layout, and even personalized messages to keep users engaged.
Step 1: Navigate to Avada Layouts
- Log in to your WordPress Dashboard
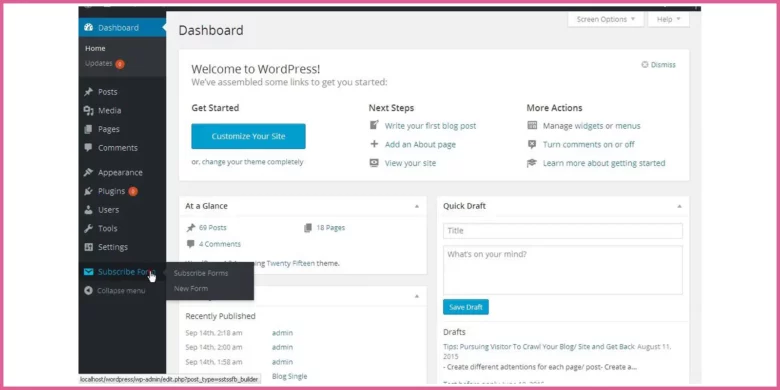
- Go to Avada > Layouts from the left-hand menu
Step 2: Create a New Layout
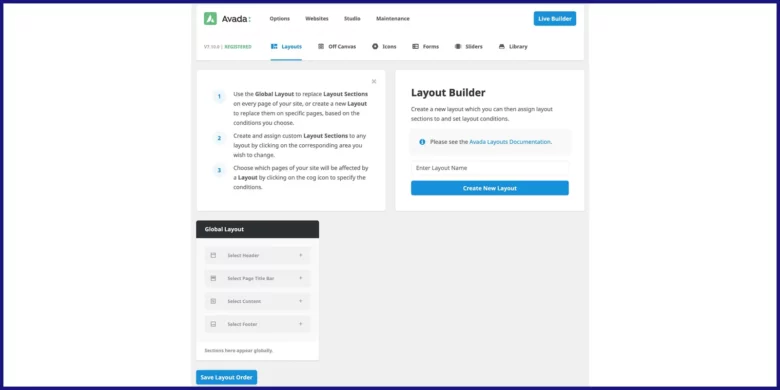
- Click on Add New Layout and give it a name, such as 404 Page
- Hover over the new layout box and click Select Condition
- Go to the Other tab in the pop-up window and check the box next to the 404 Error Page
Step 3: Add and Style Content
- Click Select Content in the layout box to add a new section
- Use Avada’s drag-and-drop builder to add elements like:
- A custom title bar with a friendly heading (e.g., “Oops! That page can’t be found”)
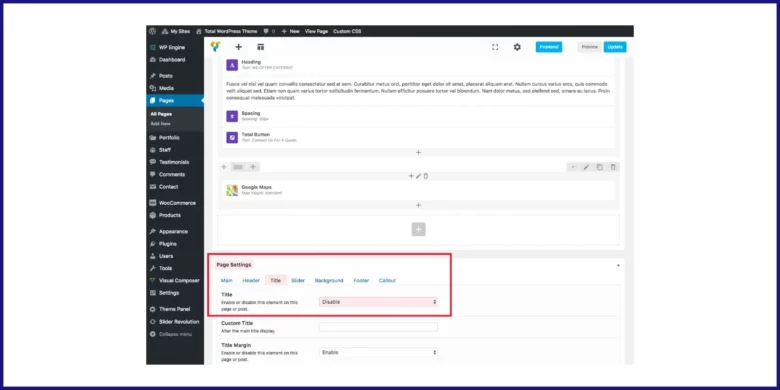
- A content section with a brief, reassuring message and links to your homepage, blog, or popular pagesA search bar to help users find what they’re looking for
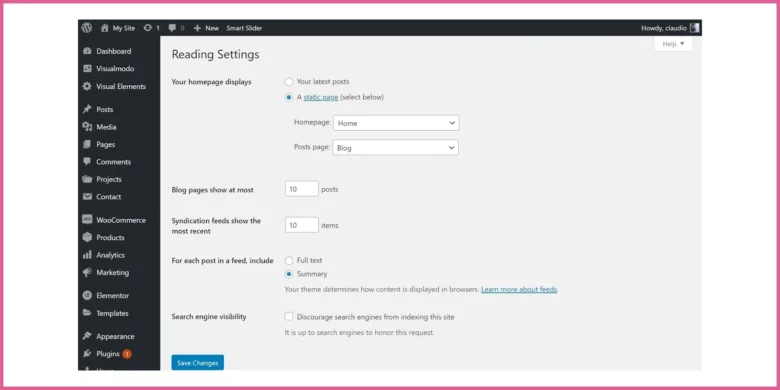
- Images or icons to make the page visually appealing

Personalize the design by adjusting colors, fonts, and spacing to match your brand.
Step 4: Publish and Test
- Click Publish to save your changes, once you’re satisfied with the design
- Test the page by entering a non-existent URL on your website (e.g., yoursite.com/gibberish)
- Check how the page looks on both desktop and mobile devices and its responsiveness
- Verify that all links and the search bar are working correctly
Customizing Your 404 Page with Uncode Theme
A well-designed 404 page can turn a boring experience into a helpful one for your visitors. You can easily customize your 404 page to match your brand and guide users back to your content with the Uncode theme.
Here’s how to do it step by step:
Step 1: Access the Customization Panel
- Log in to your WordPress Dashboard
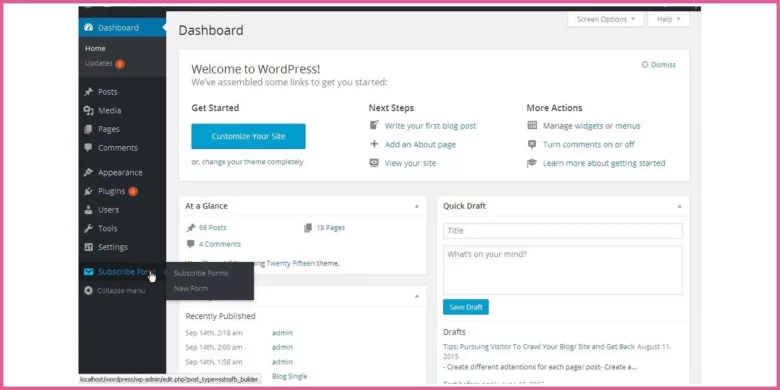
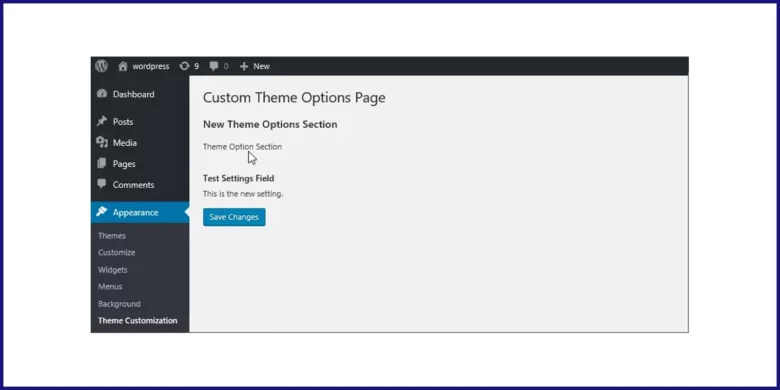
- Click on Appearance in the left-hand menu, then select Customize
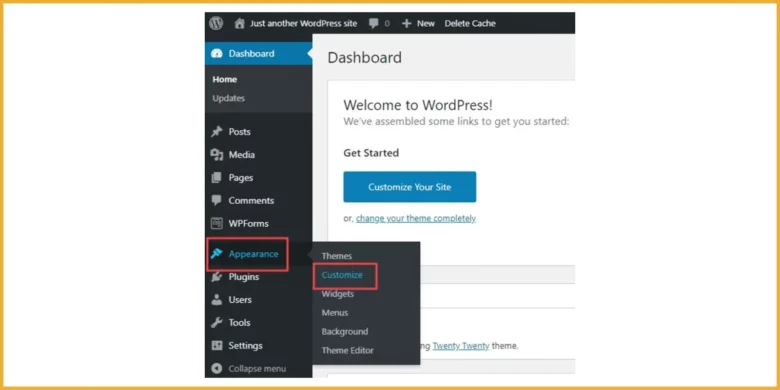
Step 2: Find the 404 Settings
- Look for the 404 Settings option inside the customizer. It’s usually listed under theme-specific settings
Step 3: Pick a Layout
- You can either use Uncode’s pre-designed 404 layout or start from scratch to create something unique
Step 4: Build Your Custom 404 Page
- Use Uncode’s visual builder, if you’re going custom, to add and tweak elements like:
- A friendly message (e.g., Looks like you’re lost—let’s get you back on track!)
- A search bar so users can quickly find what they need
- Buttons or links to your homepage, blog, or other important sections
- Images or illustrations to make the page visually appealing
You have to adjust the colors, fonts, and spacing to match your website’s overall design.
Things to Keep in Mind While Customizing
- Avoid clutter and make sure the page is easy to reach
- Use a tone that matches your brand’s voice, whether it’s professional, playful, or somewhere in between
- Add a search bar and links to popular pages to help users find their way
- Use colors, fonts, and imagery that align with the rest of your site
- Check how the page looks on different devices and make it work well everywhere.
You need to save your changes once you’re done and test the page by typing a random, non-existent URL on your website. This way, you can see how it looks and make any final tweaks if needed.
Also Read: How To Style WordPress Theme Using The Classic Editor
Method 3: Manual Customization via Coding
You face a 404 error in one of your website’s pages, so want to tackle this problem but meantime you are techy and want to code for this purpose. You have landed on the right post.
Now to manually customize a 404 page via coding, you need to access the relevant part of your website’s code (usually within your server-side language or framework).
Then create a dedicated 404 template or function that displays a custom error message and design when a user tries to access a non-existent page, typically using HTML and CSS to style the appearance while implementing the error handling logic in your server-side code.
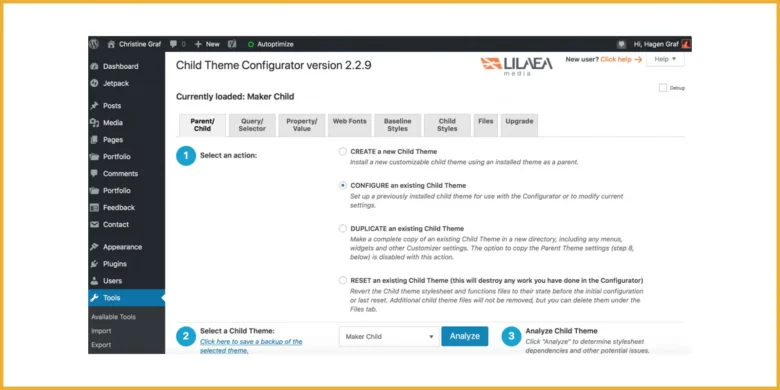
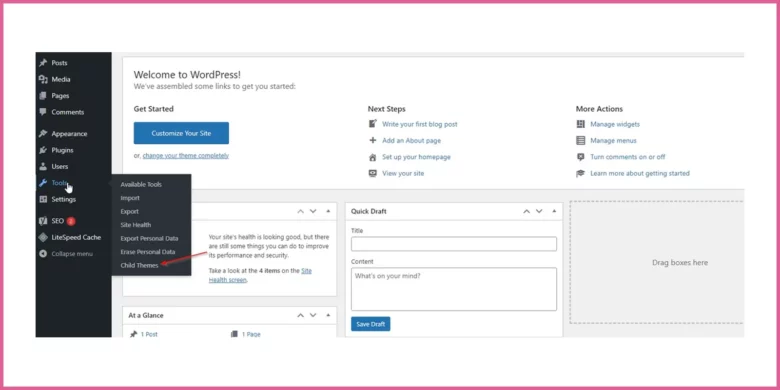
Create the Child Theme Folder
- Go to your WordPress website’s wp-content/themes directory via FTP or your hosting file manager
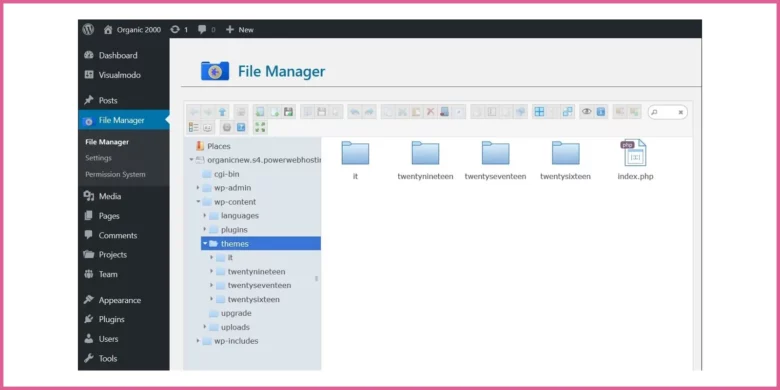
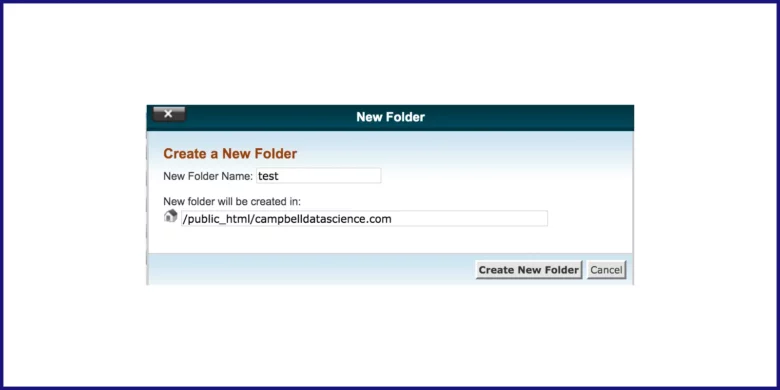
- Create a new folder with a descriptive name for your child theme, using kebab-case (e.g., my-theme-child)
Create the “style.css” File
- Create a file named style.css inside the new child theme folder
- Open the style.css file and add the following code at the very top to specify the parent theme:
/* Theme Name: My Child Theme */
/* Template: my-parent-theme */
- Replace my-parent-theme with the actual name of your parent theme
Create the “404.php” File
- Create a new file named 404.php within your child theme folder
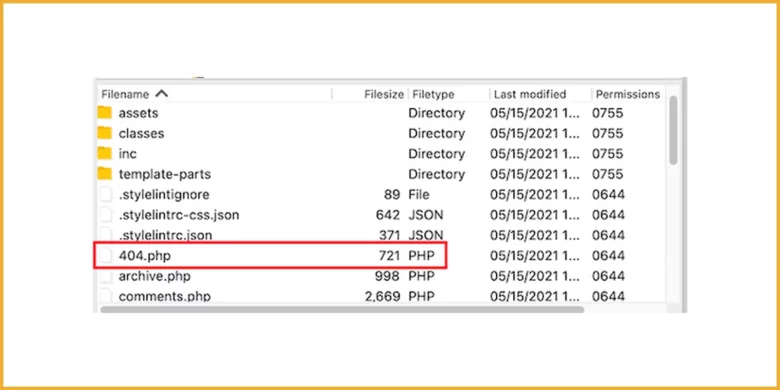
- Open the 404.php file and add your custom HTML code for the 404 page, including elements like a heading, error message, and navigation links, using WordPress functions like get_header(), get_footer() to include header and footer elements from the parent theme.
Edit the HTML Structure
- Write a clear, concise, and approachable message to explain why the page isn’t available. For example, Oops! The page you’re looking for can’t be found.
- Add a search form to help users quickly find what they’re looking for. Use WordPress functions like get_search_form() to integrate it properly.
- Insert links to key pages like the homepage, blog, or contact page to help users go through your website easily.
- Add dynamic elements such as recent posts, popular articles, or related content using WordPress widgets or shortcodes to increase engagement.
- Organize the HTML so that the design is clean, responsive, and visually attractive.
- Use proper headings, spacing, and styling to improve readability and user experience.
Manage Custom CSS and JavaScript
HStyling
Use custom CSS to design the error message, layout, and interactive elements. Make sure the look and feel match your website’s overall design for a consistent user experience.
Interactivity
Add JavaScript to introduce animations or dynamic features if needed, like smooth scrolling or fade effects, to make the page more engaging.
Implementation
Add your custom CSS and JavaScript files to your child theme by editing the functions.php file. This keeps your styles and scripts loaded properly without affecting the parent theme’s functionality.
Step 5: Test and Debug
Testing
You need to double-check check the 404 page functions correctly across various devices and browsers. Verify that all custom features work smoothly and don’t impact page performance.
Action
The next step is to identify and fix any issues, and then refine the code based on user feedback to improve the design, functions, and reader experience.
Best Practices and Optimization Tips
There are certain protocols and optimization tips to keep your dead page alive. Some best practices are discussed here for your ease:
- Design your custom 404 page to match your brand’s style and tone
- Use consistent colors, fonts, and messaging to reinforce brand identity
- Add clear links to your homepage, popular pages, or a search bar
- Help users quickly find their way back without frustration
- Compress images and minify code to keep load times fast
- Avoid heavy elements that could slow down your website and hurt your SEO and reader experience
- Test your 404 page on various devices to guarantee it looks great everywhere
- Adjust layouts and buttons for easy tapping on smaller screens
- Write alt text for images and check the keyboard shortcuts work smoothly
- Avoid flashing animations or effects that could trigger motion sensitivity
Conclusion
A custom 404 page is more than just a fix for broken links, it’s an opportunity to keep visitors engaged and guide them back to your content. You may use plugins, theme builders, or manual coding, the goal is to create a page that reflects your brand, offers clear redirection, and works properly across devices. You can turn a devastating dead page into a helpful page, by following these methods and best practices. This will improve your reader experience and support your SEO efforts.
You should choose the method that aligns with your technical skills and website needs. Start with plugins if you’re new to WordPress. Explore theme customization for more control. Manual customization offers the most flexibility if you’re comfortable with coding.
Now it’s your turn! Try customizing your 404 page using one of these methods and see how it transforms your site’s user experience. Share your results, ask questions, or leave feedback in the comments. We’re here to help and would love to hear about your journey!
Also Read: Best Off-Page SEO Tactics and Practices For WordPress Site
