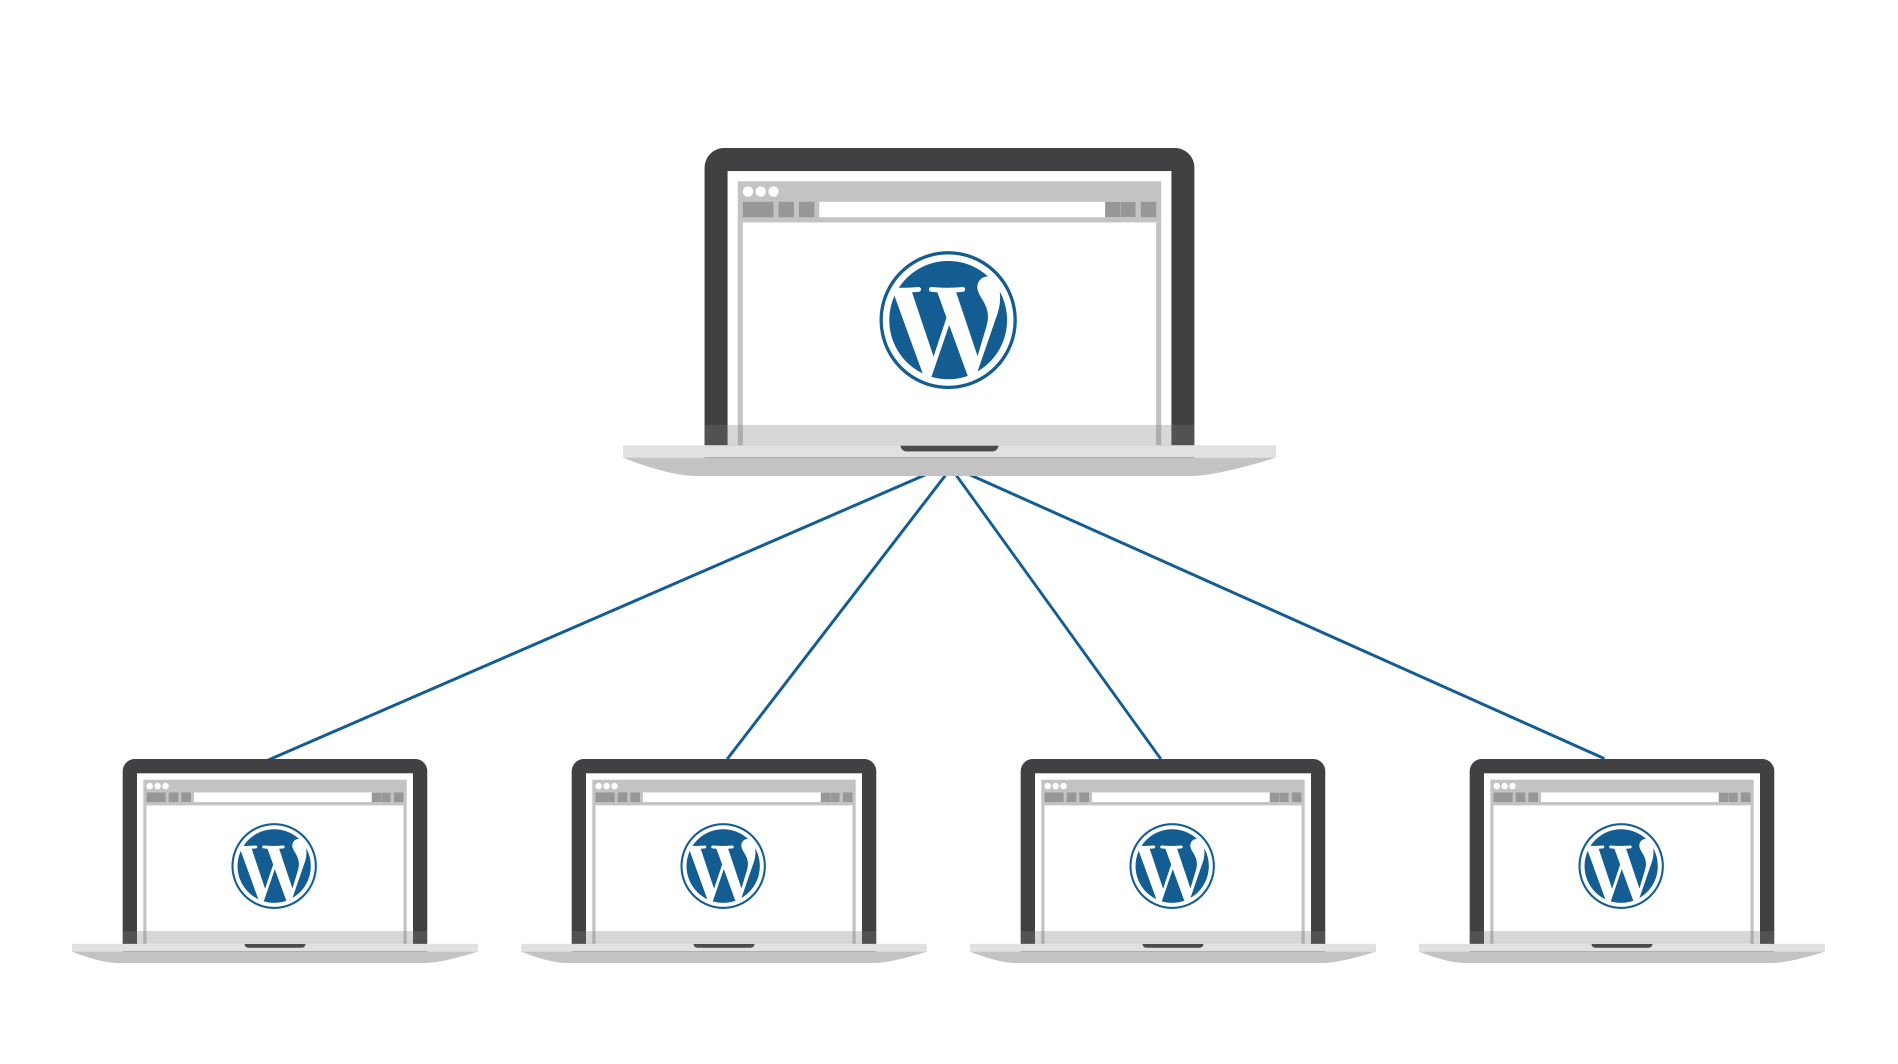
WordPress covers the largest market share in the internet world. It even allows for you to have more than one WordPress website. Yes, it does get a bit messy to manage all of them separately. The ever helping WordPress community, after its 3.0 version, introduced “WordPress Multisite” to make it easier for users to manage multiple websites.
This feature is mostly used with large websites having multiple sub-domains, internal blogs, networking sites, etc. You can create and give sub-accounts to the external users and they can run their websites using your domain. This is time-saving and provides ease in managing all your WordPress sites.
Installing and Configuring WordPress Multisite
To help and make it easier for you, we will be covering a how to guide on using WordPress Multisite, from installation, hosting to setting up WordPress multisite.
So, here we go!
To start off, you first have to opt for a hosting provider. I would be choosing a Managed WordPress hosting provider, Cloudways, as it provides the 1-click install of WordPress Multisite and makes it easier to manage the website. It is easy to sign-up and start using it.
After you have got your hosting account up and running, then start with the steps mentioned below.
Step 1: Login To Your Hosting
Login to your Cloudways account.

Click on “Manage Server”.

Step 2: Installing WordPress Multisite
Select “Add App”.

Hover on WordPress icon and select “WordPress Multisite”.

Click on Add New Application. It will take few minutes to install WordPress Multisite on your server.

Once created. Go to “Application Management”.
From “My Applications” select your newly created WordPress Multisite.

Below “My Application”, you’ll see your application credentials.

Step 3: Setting Up a WordPress Multisite Admin Panel
Open your WordPress Admin Panel and navigate to “Tools > Network Setup”. It will ask you to “Deactivate all plugins”.

Navigate to “Plugins > Installed Plugins” and select all plugins and Deactivate all of them.

Once all plugins are deactivated. Navigate to “Tools > Network Setup” and fill your details.

Now, there are two ways to access WordPress Multisite.
- Sub-domains: It will create subdomains from your WordPress Multisite.
Example: You have a domain “xyz.com”. It will create other WordPress installations like “abc.xyz.com”, “def.xyz.com” and so on. - Sub-directories: It will install WordPress sites in different directories under the same folder.
Example: You have a folder, named as “/WordPress/”. It will create another WordPress installations like “/WordPress/site1/”, “/WordPress/site2” and so on.
In our example, we’ll be using “Sub-directories”.
After successful installation, you’ll see the below message. Edit “wp-config.php” and “.htaccess” as instructed in the image below.

Congratulations! You’ve successfully setup WordPress Multisite. Now, we will see how to use the WordPress Multisite feature.
How to Use WordPress Multisite Feature
Logout and Login to your “WordPress Admin Panel” again and navigate to “My Sites > Network Admin > Sites”.

You’ll see your newly created website. Like the image below:

Step 4: Create a WordPress Site Under Multisite Admin Panel
Navigate to “Sites > Add New” and fill details as shown in the image below.

Navigate to “Sites > All Sites”. You’ll see your newly created WordPress website. Hover on it and click on “Visit”.

Congratulations! Your first website is now created successfully.

You can install as many WordPress websites as you want. Just Navigate to “Sites > Add New” and follow the onscreen instructions.
Step 5: Installing New Theme “Sailing”
You can install any theme you want. But we’ll be using “Sailing” – A Complete Hotel Management WordPress Theme.
Theme Features:
- Complete Hotel Booking System
- Room Management
- Bookings Management
- Customer Management
- Coupon Management
- Pricing Plans Management
- Extra Packages Management
- Block Special Date Management
- Reports
- Multilingual Ready
- Multi-Currencies
- 4 Payment Gateways (Offline Payment, Authorize.net, PayPal, Stripe)
- WooCommerce Integrated and much more.
Step 6: Uploading Theme Files
For uploading theme files, we’ll be using “FileZilla” as our FTP client. Go back to your “Cloudways Console” and navigate to “Server Management”. You’ll see your FTP details here.

Copy one by one and paste them in your FileZilla client as shown in the image below:

After connecting, go back to your “Cloudways Console” and Navigate to “Application Management”. Choose your WordPress Multisite besides “My Application” tab. You’ll see your “Application Folder Name” there like the image below.

Now, go back to your “FileZilla” and navigate to “/applications/[FolderName]/public_html/wp_content/themes”, and upload “Sailing” theme folder there.

Step 7: Setting Up Theme for Network
After successful upload, go back to your “WordPress Multisite Admin Panel”. Navigate to “Themes > Installed Themes”. You’ll see your newly uploaded “Sailing” theme there. Click on “Network Enable” and it will be available throughout your network.

From your WordPress Admin Panel, navigate to “My Sites > Network Admin > Sites”.

Hover on your “site1” and Click on “Dashboard”.

Navigate to “Appearance > Themes > Activate Sailing Theme”.

Just above themes, you’ll see a notice asking you to install dependent plugins for sailing to work with all features of the theme. Install all plugins by clicking on “Begin Installing Plugins”.

Follow the steps below to install all plugins at once.

Now, activate all Plugins:

You’re done with installing the theme. Now, follow the onscreen instructions to configure plugins, for e.g., WooCommerce, etc.
Step 8: Dummy Data To Test Theme
After that, let’s import some dummy data to test how well the theme works. Navigate to “Tools > Demo Importer”.

Choose any of the shown demo data. It will take few moments to install. After successful installation, open your website.
Congratulations! You have successfully created “WordPress Multisite” and installed “Sailing” theme on it. Now, open your WordPress Admin Panel and configure all settings according to your own requirements.
If you have any queries or issues in setting up WordPress Multisite using Sailing theme on Cloudways Managed Cloud Hosting, then feel free to let me know via the comments section below and I would be glad to help you with it.


1 comment
good morning
How can I synchronize the number of rooms for each site?